Canning Green Beans in Pressure Cooker Times: How Long to Cook?
Green beans are an important part of many diets and have many health benefits. They are a good source of folic acid, vitamins A, C, and K, and other nutrients like folic acid. They also contain fiber, potassium, and magnesium. Green beans are low in calories and fat, and they have no cholesterol.
There are many reasons to preserve green beans. They are a nutritious food that can be consumed all year. When green beans are preserved, they keep their nutritional value and can be used in many different recipes. Preserving green beans is also a way to save money on groceries.
Green beans should be stored in the right way to make sure they keep their taste and nutrients. Canning is the best way to preserve green beans. When done correctly, canned green beans will last for years without losing their quality.
When canning green beans in a pressure cooker, timing is important. If the green beans are not cooked long enough, they will not be canned properly and could spoil. On the other hand, if they are cooked too long, they will be overcooked green beans and may not taste as good.
In this article, we will explore the right timing for the best result when canning green beans. The timing depends on many factors. In addition to that, we provide simple steps for canning green beans in a pressure cookers
Why Need To Canning Green Beans in a Pressure Cooker?
If you love canning green beans, then you will love doing it in a pressure cooker. Pressure cookers are so much faster than traditional methods, and they preserve the nutrients in the food better, too. Here are some of the benefits of canning green beans in a pressure cooker:
1. Pressure cookers preserve more of the nutrients in food. Since they cook food at a lower temperature than boiling, they don’t break down as many of the vitamins and minerals.
2. Pressure cookers are much faster than other methods of canning. You can cook green beans in a pressure cooker in just a fraction of the time it would take to do it using another method.
3. Pressure cookers are very safe to use. If you follow the instructions and safety precautions, there is very little risk of an explosion or other accidents.
Step by step guide to Canning Green Beans in Pressure Cooker
Canning green beans with a pressure cooker is easy to do and doesn’t take much time. Pressure canning times for green beans are no different either. Here’s a step by step guide on how to do it.
- First, you’ll need to gather your supplies. You’ll need green beans, of course, as well as canning jars, lids, and rings. You’ll also need a pressure cooker. Make sure your green beans are clean and dry before getting started.
- Next, start heating up your pressure cooker with water.
- While it’s heating up, start packing your green beans into the canning jars.
- At the top of each jar, leave about an inch of headspace.
- Next, put the lids on top of the jars and screw on the rings. Now that everything is packed into the jars and ready to go, it’s time to can your green beans.
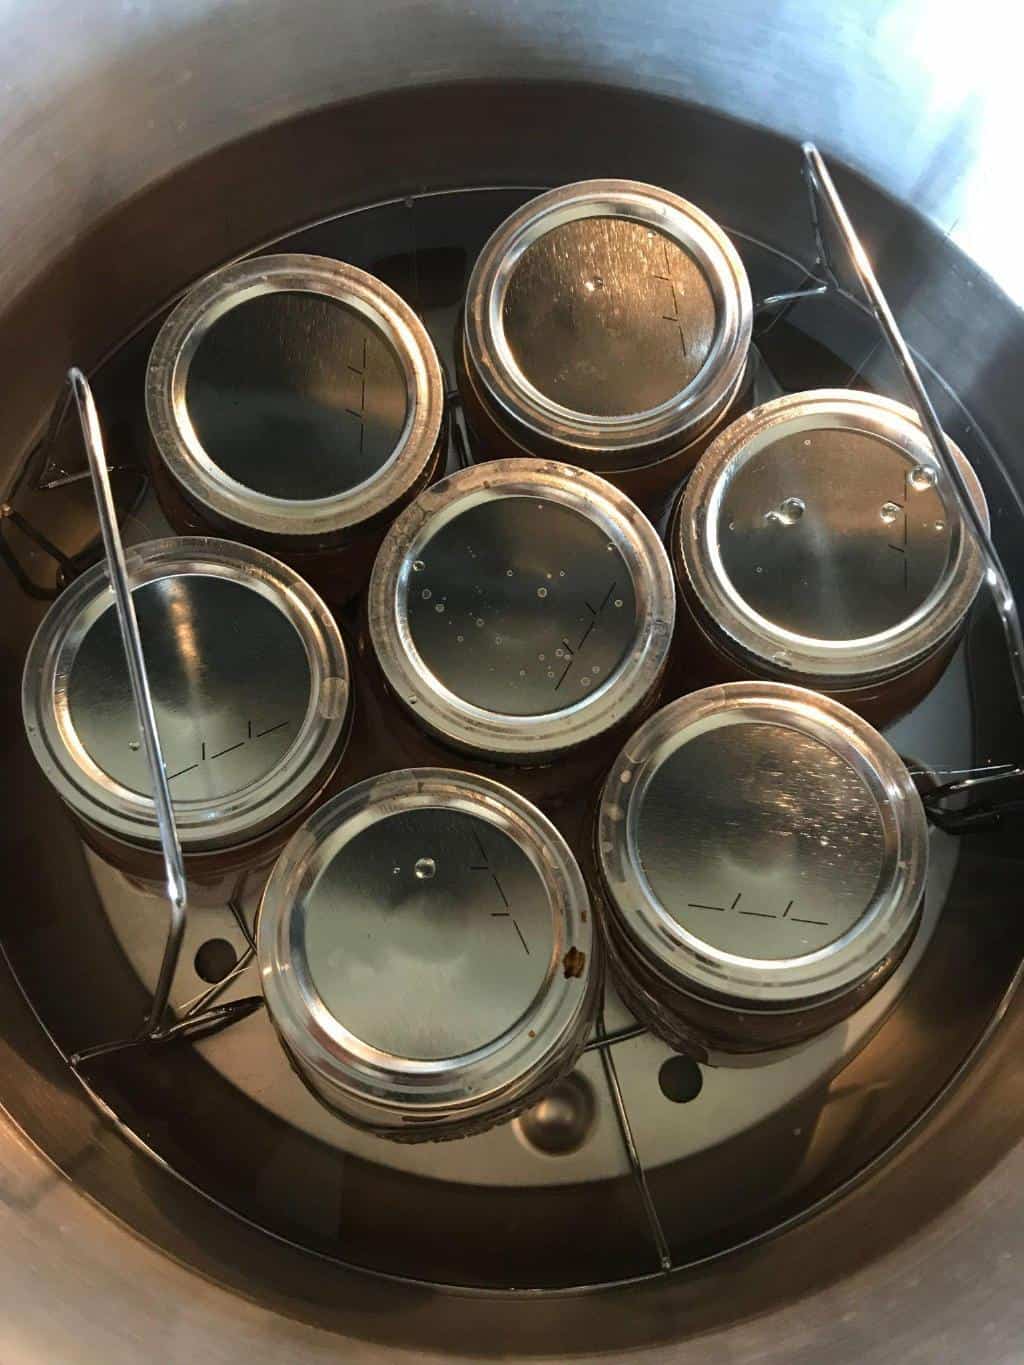
- Once the water in your pressure cooker has reached a simmer, it’s time to put it in your jars. Make sure that all of the jars are upright and not touching each other or the sides of the pot.
- Then, put on the lid, turn up the heat, and start timing. In a pressure cooker, green beans should be canned for 10 minutes (for pint jar size) at 10 psi.
- If you don’t have a pressure cooker or canning funnel, you can use a canning rack or the trivet that came with your stovetop pressure cooker.
- Make sure that the water in your pressure cooker is below the level of the jars and that the jars are covered by 1 or 2 inches of water. Once you’ve put on the lid and turned up the heat, it’s time to wait.
- If you want to check on your beans, you can always peek through the little window in your pressure cooker, but don’t open the lid or try to lift up the weight until 10 minutes have passed.
- When the time’s up, turn off the heat and let the pressure cooker cool down. After that, you can take off the lid and release any remaining pressure with the weight attached to your pressure cooker.
Pressure Canning Times for Green Beans: How Long?
So, how long should green beans be pressure canned? The answer depends on the type of green bean and the size of the jar.
For whole or cut green beans, the recommended processing time is 10 minutes for pint jars or 15 minutes for quart jars. If you’re using smaller jars, such as half-pint or 4-ounce jars, the processing time will be 5 minutes for whole beans or 7 minutes for cut beans.
It’s important to note that these are only guidelines. You’ll need to adjust the processing time depending on your altitude.
Do Jars Need To Be Submerged When Pressure Canning?
No, the jars do not need to be fully submerged in water when pressure canning. The water should come up to about an inch or two below the lid of the jar. This is because during the canning process, water will evaporate, and you don’t want your jars to be exposed to too much heat.
The boiling water in the canner will create enough steam to fill the jars and pressurize them. Submerging the jars could cause them to break.
How Long Can You Keep Home-Canned Green Beans?
The answer depends on a few factors, including how they were canned and stored. Generally speaking, though, home-canned green beans will have a shelf life of 1-2 years.
TIPS 
To maximize the shelf life of your canned green beans, be sure to follow proper canning procedures. Once canned, store the jars in a cool, dark place. Avoid exposure to excessive heat or light, as this can cause the beans to spoil more quickly.
How to Store Home-Canned Green Beans?
Beans are a low-acid food, which makes them perfect for canning. However, because they are low-acid foods, they need to be processed correctly in order to prevent the growth of bacteria.
Here are some tips on how to store your home-canned green beans:
- Store canned green beans in a cool, dark place. A pantry or cupboard is ideal. Extreme temperatures can cause the cans to warp and the contents to spoil.
- Canned green beans should be stored in a dry place. If they are stored in a humid environment, they will become moldy and spoil more quickly.
- Check the cans before you use them to make sure they’re not dented or damaged. Damaged cans can lead to leaks and spoiled food.
- Since canned green beans have a long shelf life, you can keep them on hand for an extended period of time.
- When you open a can of green beans, transfer them to a glass or plastic container with a tight-fitting lid. This will help keep them fresh longer. Once they are opened, however, it is best to store the unused portion in your refrigerator.
- If you don’t think you’re going to be able to use the green beans before they spoil, freeze them for future meals. Some things just taste better when it’s cold outside!
- Be sure to label the containers with the date you opened them so you can keep track of how long they’ve been open.
Conclusion
Timing is essential when pressure canning green beans. Green beans won’t be adequately canned and may deteriorate if they aren’t boiled for the required amount of time. The green beans will be overdone and may not taste as pleasant if they are cooked for an excessively long time.
Follow the directions on the pressure cooker carefully if you want to make sure the green beans are cooked right. Most pressure cookers will have a specific cook time for canning green beans. It is important to start timing when the pressure cooker reaches full pressure.