Do You Have to Dry Out Pumpkin Seeds Before Cooking Them?
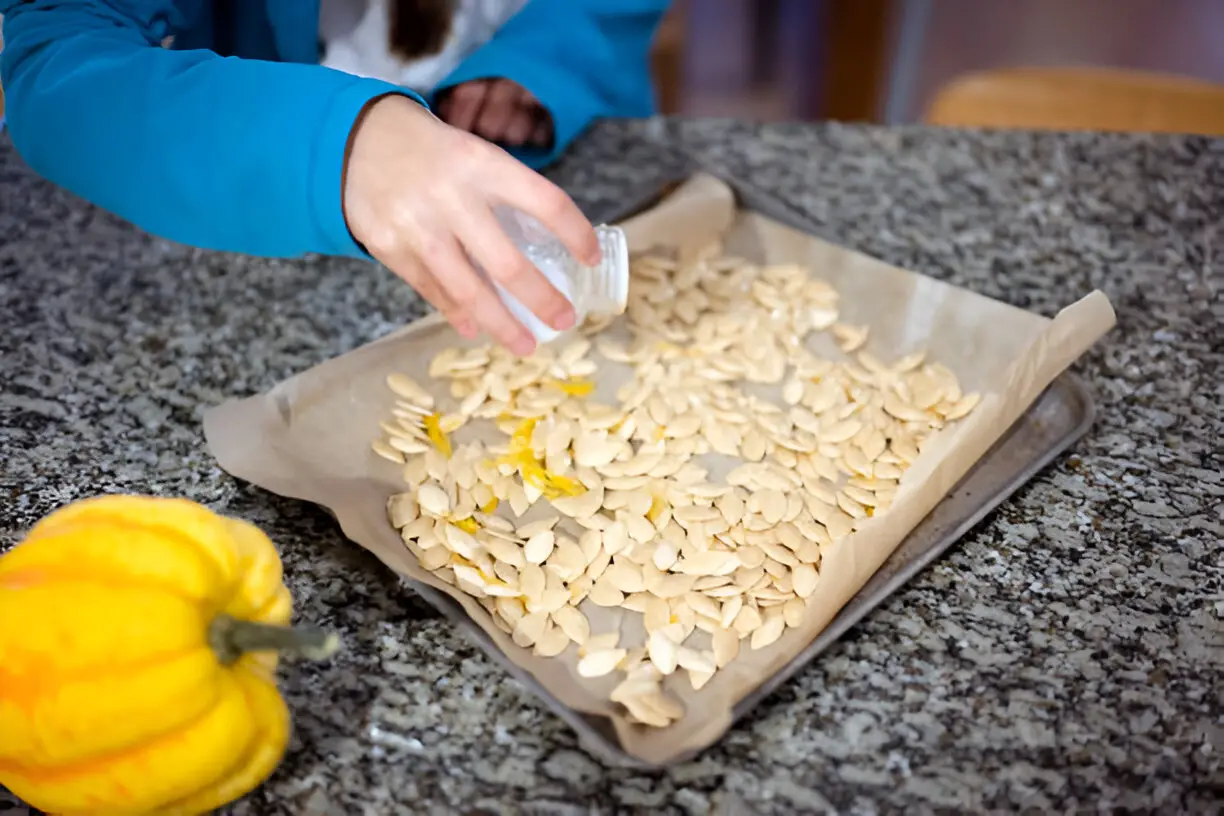
When the air turns crisp and pumpkins start to dot porches everywhere, it’s time to get creative with all those pumpkin seeds. If you’re anything like me, you look forward to carving your pumpkin not just for the spooky face but for the treasure hidden inside—those crunchy seeds! But, here’s the million-dollar question: do you really have to dry out pumpkin seeds before cooking them, or can you skip that step?
You might have heard different opinions on this one, and that’s because there isn’t a one-size-fits-all answer. Some say drying is a must, while others will tell you it’s an unnecessary extra step. So, let’s dive into the topic, explore the pros and cons, and I’ll give you the rundown on how to decide for yourself.
The Case for Drying Pumpkin Seeds
Why dry pumpkin seeds before cooking? It’s a question that has perplexed many home cooks over the years, but it’s actually more of a personal preference than an absolute rule. Here’s what I’ve learned: drying pumpkin seeds does a few things that can really elevate your roasting game.
1. Prevents Sogginess
If you’re after crispy, crunchy pumpkin seeds that shatter with every bite, drying them beforehand is crucial. When you skip this step, those precious seeds are left with excess moisture that, once roasted, can turn your snacks into a soggy mess. No one wants to bite into a chewy seed that should have been crisp, right?
2. Enhances Flavor
Drying the seeds can bring out a richer, nuttier flavor. When the seeds are dry, they roast more evenly, which means the heat can penetrate evenly and bring out that deep, roasted flavor. It’s like letting a fine wine breathe before you take a sip.
3. Better Roasting Texture
Dry pumpkin seeds tend to cook faster and more evenly. This can be especially useful if you’re planning to season them. The oil or butter you use to coat the seeds will cling better to a dry surface, resulting in a more flavorful, crispy snack.
The Case for Not Drying Pumpkin Seeds
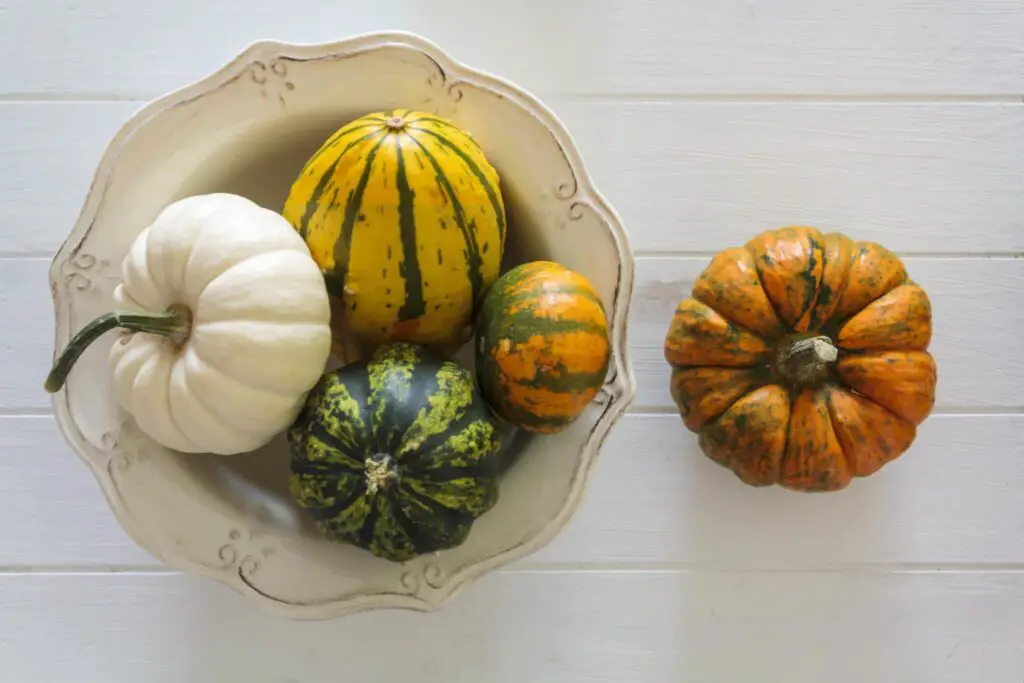
Now, just because drying the seeds is the common advice doesn’t mean it’s the only way. In fact, there are some compelling reasons to not bother drying them first.
1. Less Time, Less Hassle
If you’re in a rush (or you just don’t want to deal with an extra step), skipping the drying process is definitely the quicker way to go. You can roast your seeds straight from the pumpkin, saving yourself some time. After all, who wants to wait hours for them to dry when you could be enjoying a warm, roasted snack in less than 30 minutes?
2. Nutrient Preservation
It might surprise you to learn that moisture plays a role in preserving some of the nutrients in pumpkin seeds. When you dry them out, you risk losing some of the vitamins and minerals that make these seeds so good for you. While it’s a small loss, some folks prefer to keep every last bit of nutrition in their seeds.
3. Moisture Can Add Flavor
I’ve also found that seeds roasted with a little moisture can end up with a unique texture that’s less crunchy and more tender. And if you’re into experimenting with different textures in your cooking, this could be a fun variation to try. Sometimes the outside might be a little more chewy, but it gives the seeds a different vibe, and you can always compensate with a bit more seasoning to balance it out.
How to Dry Pumpkin Seeds (If You Want to)
Okay, if you’ve decided that drying is the way to go, let’s talk about the different methods you can use to get those seeds ready for roasting. You’ve got options, and none of them are overly complicated.
1. The Oven Method
This is my go-to when I’ve got time on my side. I like to spread my seeds out on a baking sheet in a single layer and let them dry in the oven at a low temperature. The key is to set the oven low enough so that you don’t cook them, but high enough to evaporate the moisture. Here’s how I do it:
- Preheat your oven to 250°F (120°C).
- Spread your freshly cleaned seeds on a baking sheet in a single layer.
- Bake for about 20 to 30 minutes, checking and stirring them occasionally to make sure they dry evenly.
- Once they’re dry to the touch, pull them out and let them cool before seasoning and roasting them.
2. The Boiling Method
This method is a bit quicker and still effective if you want to get those seeds nice and dry. Here’s the deal:
- Place the pumpkin seeds in a pot of boiling water for 5 to 10 minutes.
- Drain the seeds and let them sit on a clean towel to cool.
- After they’re cool, spread them out on a baking sheet and let them air-dry for a bit, or you can pop them in the oven for a quick dry at a low heat.
Both methods work well, and I’d say it’s all about personal preference. I tend to use the oven method if I want to avoid dealing with a pot of boiling water, but both will get the job done.
How to Roast Pumpkin Seeds (With or Without Drying)
Whether you dry your pumpkin seeds or not, the basic process of roasting them is pretty straightforward. Here’s how I do it:
1. Roasting Without Drying:
If you skip the drying process, the key is to coat the seeds with oil before roasting. This will help them crisp up even if there’s still a bit of moisture lingering. Simply toss them in olive oil, butter, or coconut oil, and then spread them on a baking sheet.
2. Roasting With Drying:
If you dry your seeds first, they’ll be ready to soak up the oil and seasoning better, resulting in an even crispier texture. Coat them with olive oil or melted butter and sprinkle on your favorite seasonings. Then roast them in a preheated oven at around 300°F (150°C) for 20-30 minutes, stirring every 10 minutes.
3. Flavoring Your Seeds:
You can get creative with your seasoning! Try:
- Classic Salted: Simple and timeless. Toss seeds with olive oil and sea salt.
- Sweet and Spicy: Mix in a little cinnamon, sugar, and cayenne for a sweet and spicy flavor.
- Savory Garlic: Toss in garlic powder, onion powder, and a sprinkle of Parmesan for a savory snack.
A Quick Comparison: Drying vs. Not Drying Pumpkin Seeds
| Method | Pros | Cons |
| Drying (Oven/Boil) | Better texture, less moisture, richer flavor | Takes extra time, may lose some nutrients |
| Not Drying | Faster, retains nutrients, more tender | May be slightly soggier, less crispy |
How Do You Remove Pulp From Pumpkin Seeds?
Removing the pulp from pumpkin seeds can be a simple task, and there are several methods to get the job done, depending on what you find most convenient. One of the easiest ways is to place the pumpkin seeds in a colander and rinse them under cold water. The seeds will quickly separate from the pulp, and you’ll be left with clean pumpkin seeds that are ready to be dried or roasted. This method is quick and effective, especially when you’re dealing with a large batch of seeds.
Alternatively, you can fill a bowl with water and place the pumpkin seeds inside. The pulp will naturally float to the top, making it easy to skim off with a spoon. This method ensures that you get rid of all the sticky bits while keeping the seeds intact. It’s also a great way to avoid using too much water or making a mess.
If you’re in a rush or want to dry your seeds first, you can let them air dry and then use your fingers or a spoon to manually remove the remaining pulp. This method requires a bit more effort but works well when you’re preparing smaller amounts of seeds.
| Method | Pros | Cons |
| Colander Rinse | Quick, easy, effective | Seeds may fall through |
| Water Soak | Simple, pulp floats to the top | Can be messy |
| Manual Removal After Drying | Less water usage, hands-on control | Takes more time and effort |
Each method has its advantages, so feel free to choose the one that best fits your needs!
Conclusion: Which Approach Is Right for You?
At the end of the day, there’s no hard-and-fast rule when it comes to drying pumpkin seeds. If you’re in a rush or want to preserve more nutrients, skipping the drying process works just fine. But if you’re after that ultimate crispy, crunchy texture, drying them first is worth the extra effort.
Personally, I love drying my seeds when I’ve got a bit of extra time to get that perfect golden crunch. But if I’m short on time, I’m more than happy to roast them straight from the pumpkin.
So, next time you carve out a pumpkin, don’t let those seeds go to waste. Whether you choose to dry them or not, roasted pumpkin seeds are a snack you won’t want to miss.

