Grilling With Kids: Teaching the Basics of Grilling and Barbequing
My children are often by my side when I am cooking or baking. From desserts to party food to everyday dinners
Sometimes, I even put my feet up as they take charge! Imagine that.
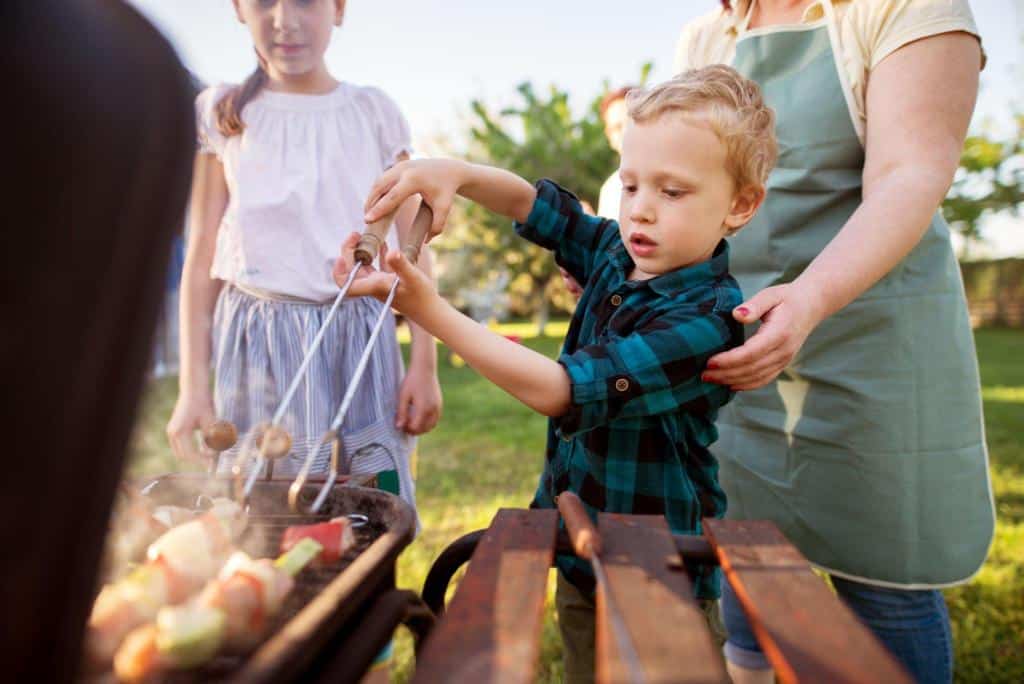
In December, I began to teach my 13-year-old son the basics of grilling. That boy LOVES meat pulled hot off a grill, so I figured it was time to teach him how to respect the grill, and begin to successfully cook on it.
Up until now, he’s been helping prep what goes on it, placing the foods on the grill, and pulling them off the grill. We have worked on the mechanics of the grill and grill safety (this is important!). Now we are moving on to him understanding HOW meats are cooked.
Why Grill with Kids?
Grilling with kids is more than just preparing delicious food; it’s an opportunity to teach them valuable life skills, foster creativity, and build strong family bonds. As they participate in the grilling process, they learn about teamwork, food safety, and the science of cooking. It’s a chance for them to unleash their culinary creativity and explore flavors in a controlled and exciting environment.
The Essential Tools
Before you dive into the world of grilling, it’s important to familiarize your kids with the essential tools they’ll be using. Here’s a handy table to help you both get acquainted:
| Tool | Purpose |
| Grill | The cooking surface where magic happens. |
| Tongs | Flipping, turning, and serving food. |
| Basting Brush | Applying marinades or sauces. |
| Grill Brush | Keeping the grill grates clean. |
| Meat Thermometer | Ensuring food is cooked to perfection. |
Grilling Safety 101
Safety always comes first, especially when kids are involved. Teach your young grill masters these safety guidelines:
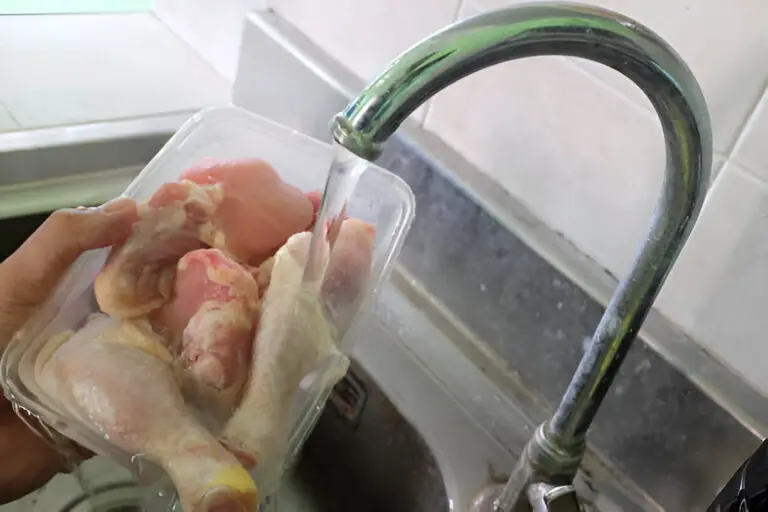
- Wash Hands: Before and after handling food, it’s essential to wash hands thoroughly with soap and water.
- Adult Supervision: Grilling requires adult supervision at all times. The grill can get hot, and it’s important to prevent accidents.
- Safe Zones: Establish a “safe zone” around the grill where only adults can enter.
- Aprons and Mitts: Provide aprons to protect clothes and mitts to handle hot tools and plates.
- Tool Handling: Instruct kids on how to properly handle grilling tools to avoid accidents and burns.
The Grill Master’s Technique
- Preheat the Grill: Show your kids how to preheat the grill for optimal cooking. The grill should be hot before placing any food on it.
- Oil the Grates: Using tongs and a paper towel dipped in oil, teach your kids how to oil the grates to prevent sticking.
- Even Placement: Explain the importance of evenly placing food on the grill. This ensures consistent cooking and prevents overcrowding.
- Lid Usage: If your grill has a lid, teach your kids when and how to use it. The lid helps control the temperature and imparts a smoky flavor.
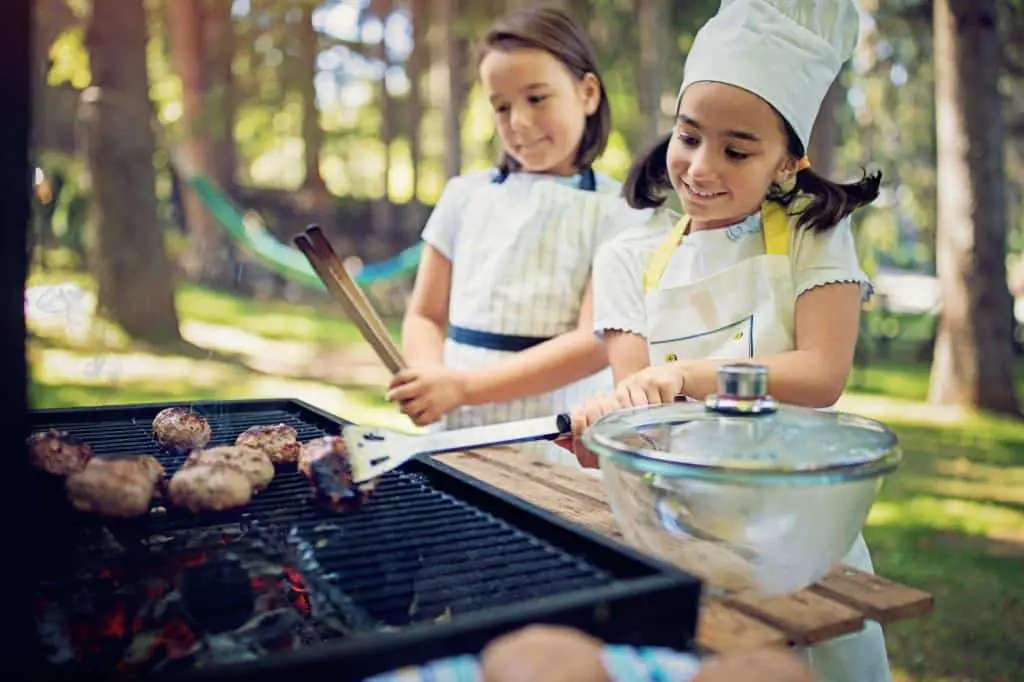
So we started with three meats every kid should know how to grill. In my opinion, it’s burgers, chicken, and steak. All three are super easy to prepare and definite crowd-pleasers!
The burgers are easy; after all, so many kids are familiar with ground meat and making meatballs, right? Showing them just how simple it is to make and grill a burger is even easier.

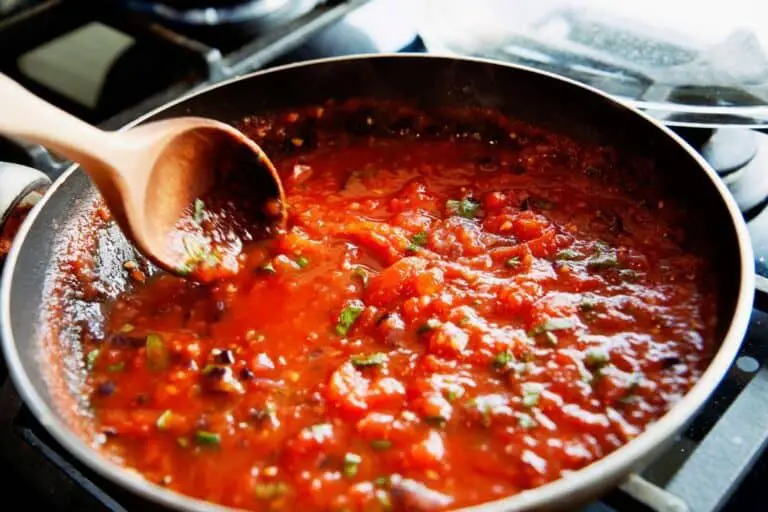
Start with fresh ground beef and seasoning. All you really need to know is that the fresher and better quality the meat is, and the less you work the meat, the better the burger will be. From there, all you need are your toppings and a beautiful roll. When it comes to cooking time, everyone has an opinion and a preference. We buy fresh ground farmer’s market meat, ground right in front of our eyes, so we can enjoy our burgers the way we want to (which is medium).
What I taught my son: Heat your gas grill to high heat. Brush your burgers with a bit of olive or grapeseed oil and season well (salt and pepper are the staples). Grill burgers until golden brown and slightly charred on the first side, about 3 minutes. Flip and cook until golden brown and slightly charred on the second side, 6 minutes for medium or longer until cooked to desired degree of doneness. If topping with cheese, do so with a minute to go. Perfecto!
My daughter was getting in on the prep work for the burgers and decided to make a heart-shaped one. We humored her. Hey, when a kid wants to feed their dad a hand-made heart-shaped burger, who is going to refuse?
Next up for my son was grilling chicken. We started with boneless chicken first, since it really is so easy to work with, after that, we will move to bone-in. For now, I am teaching him that all you need to do to grill a piece of chicken is make sure you season it well and don’t overcook it. We can get into fancier dishes later.
What I taught my son: For a delicious grilled boneless chicken breast, start with a clean and oiled grate, then heat your grill to medium-high heat. Make sure you brush your chicken with a bit of oil and season it well (this is the key to anything). Place chicken breasts over direct heat and grill for about 3 minutes per side. The size of the chicken breasts dictates the cooking time. I gave my son this tip: Pound the chicken breasts a bit so the thickness is somewhat even to assure more even cooking. Remove the smaller breasts once they are done and continue cooking the larger ones. It’s better to under-cook just a bit than overcook, since the meat will continue cooking once it’s pulled from the grill. If necessary, it can always be thrown back on. better than trying to eat a dry piece of meat.
Last but certainly not least was his favorite steak. My son adores steak! He could probably eat a piece of filet mignon or strip steak every day of his life!
I taught him this simple trick to know how well done the meat is. It’s called the Touch Test. I wish someone had taught it to me when I was a kid. sorry dad!)
By simply touching the meaty part of the palm of your relaxed hand with your index finger, you can see what it feels like to push down on raw meat. The same give and “spring” apply here.
Next, touch your index finger to your thumb, like an “ok” sign. What you feel now is medium-rare.
Now touch your middle finger to your thumb, that’s feeling less bouncy, right? That’s medium… just the way my son likes it best.
Now move onto your ring finger and thumb, that’s what medium-well feels like.
Last, but not least (or, uh-oh, you burned the steak), are your pinky and thumb, and that, my friends, is well-done.
Pretty cool, huh?
How to Grill A Perfect Steak with Kids
I taught my son that cooking a perfect steak starts with a great piece of meat that you allow to sit out on the counter to come to almost-room temperature for about 20 minutes, then perfectly season. Then, all you need is a hot grill and a possible dab of butter, and in about 10 minutes, you will have the steak of your dreams!
Simply place your steaks on the grill and cook until golden brown and slightly charred (about 4 to 5 minutes). Turn your steaks over and continue to grill for an additional 3 to 5 minutes for medium-rare (internal temperature of 135°F), 5 to 7 minutes for medium (140°F), or 8 to 10 minutes for medium-well (150°F). The thickness of the steak will vary with the cooking time.
Our favorite way to prepare steaks or a whole filet for the grill is to make a fresh garlic oil by combining 4 minced garlic cloves with 1/4 cup grapeseed or olive oil and then generously seasoning with Kosher salt and pepper. Allow to sit for at least 2 hours before using. Delicious!
My husband loves a Cajun steak. For that, we brush his steak (his favorite cut is a thick bone-in rib-eye) with a bit of oil and dry rub it with Cajun seasoning before placing it on the grill. After flipping, we put a pat of butter on melt over-top!
After your steaks are done on the grill, transfer them to a cutting board or platter, tent loosely with foil, and let rest for 5 minutes before slicing.
Cleaning Up Together
The grilling experience doesn’t end when the food is off the grill. Involve your kids in the cleanup process:
- Grill Cleaning: After the grill has cooled down a bit, show them how to use the grill brush to clean the grates once again.
- Tool Care: Teach them how to clean and store the grilling tools properly.
- Safe Storage: Emphasize the importance of properly storing leftover coals or turning off the gas supply.
Teaching your kids the basics of grilling will take any fear they have of the grill away and start them on the path of a life filled with delicious grilled meals that they can competently (and hopefully passionately) prepare themselves!
So, what are you waiting for? Go and grab your kids! They’ve got some grilling to do!