The Ultimate Guide to Purifying Dirty Cooking Oil: Save Money and Reduce Waste
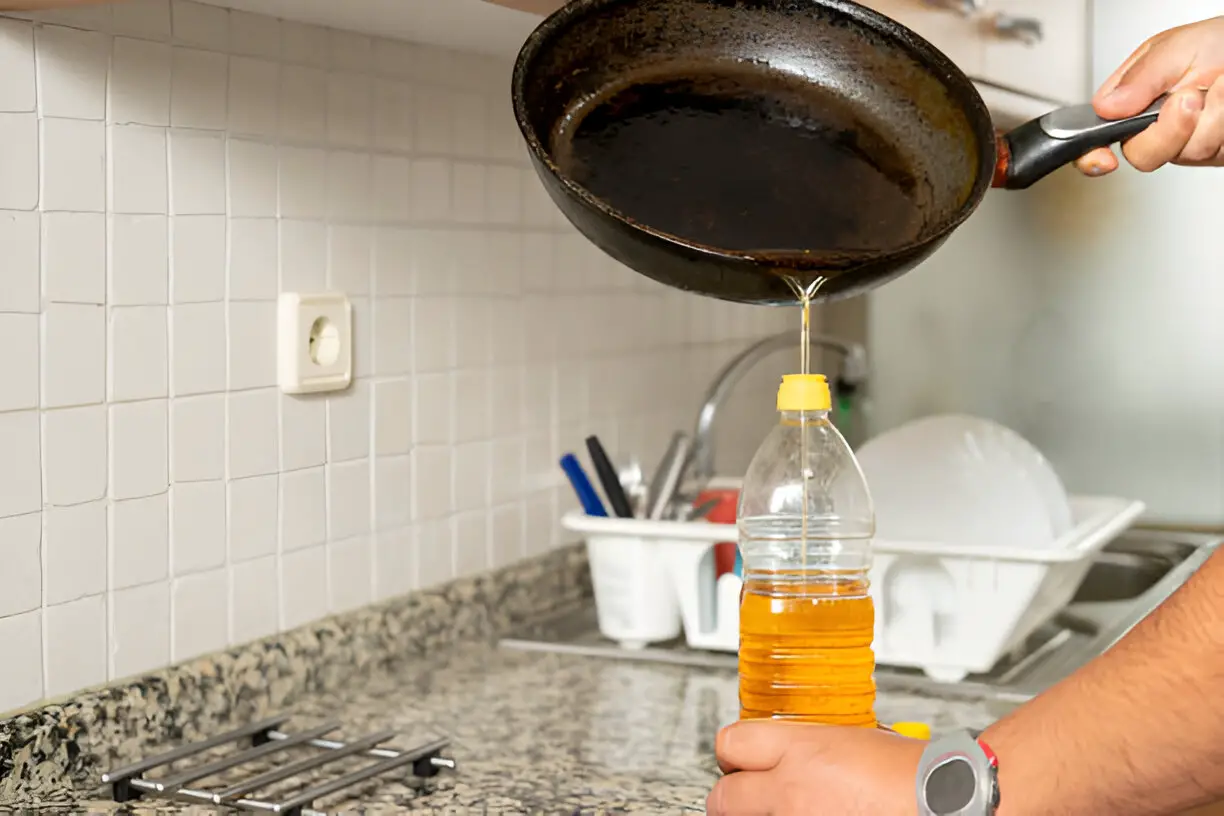
Hey there, fellow kitchen warriors! If you’re anything like me, you probably hate wasting food—especially that precious cooking oil that you just can’t bear to toss. Whether you’ve been frying up crispy chicken or sautéing veggies, that oil can take a beating. But before you throw it out, let’s talk about how to purify and reuse that dirty cooking oil. This not only saves you money but also reduces kitchen waste.
So grab your apron, and let’s dive into the world of oil purification!
Why Bother with Purifying Cooking Oil?
At first glance, it may seem easier just to pour out that used oil and buy a fresh bottle. However, purifying your cooking oil can work wonders. For one, it stretches your dollar further. Imagine how much you can save over time if you reuse oil! Moreover, it’s an eco-friendly practice that reduces waste.
Instead of adding to landfill, you’re giving that oil a second chance. Plus, using clean oil ensures that your food tastes great—who wants fried food that tastes like last week’s dinner?
The Benefits of Reusing Cooking Oil
Reusing cooking oil is more than just frugality; it’s about sustainability. Let’s break down the key benefits:
| Benefits | Description |
| Cost Savings | You save money by reusing oil instead of buying new. |
| Environmental Impact | Less oil in landfills means a smaller carbon footprint. |
| Flavor Preservation | Clean oil preserves the natural flavors of your food. |
| Resourcefulness | You maximize what you already have, reducing waste. |
So, now that we know why we should care, let’s get down to the nitty-gritty: how to purify that dirty cooking oil!
How to Purify Cooking Oil: Step-by-Step Guide
Step 1: Gather Your Supplies
Before you start, make sure you have the following supplies ready:
- A large container: A clean, dry container to hold your purified oil.
- Fine mesh strainer: This will filter out food particles.
- Cheesecloth or coffee filter: For an extra layer of filtration.
- A saucepan: To heat and filter the oil if necessary.
- A funnel: For easy pouring.
Step 2: Let the Oil Cool
After cooking, resist the urge to clean up immediately. Allow the oil to cool down to a manageable temperature. Hot oil can be dangerous and can also damage your filtering equipment. I usually let my oil sit for about 30 minutes to cool down.
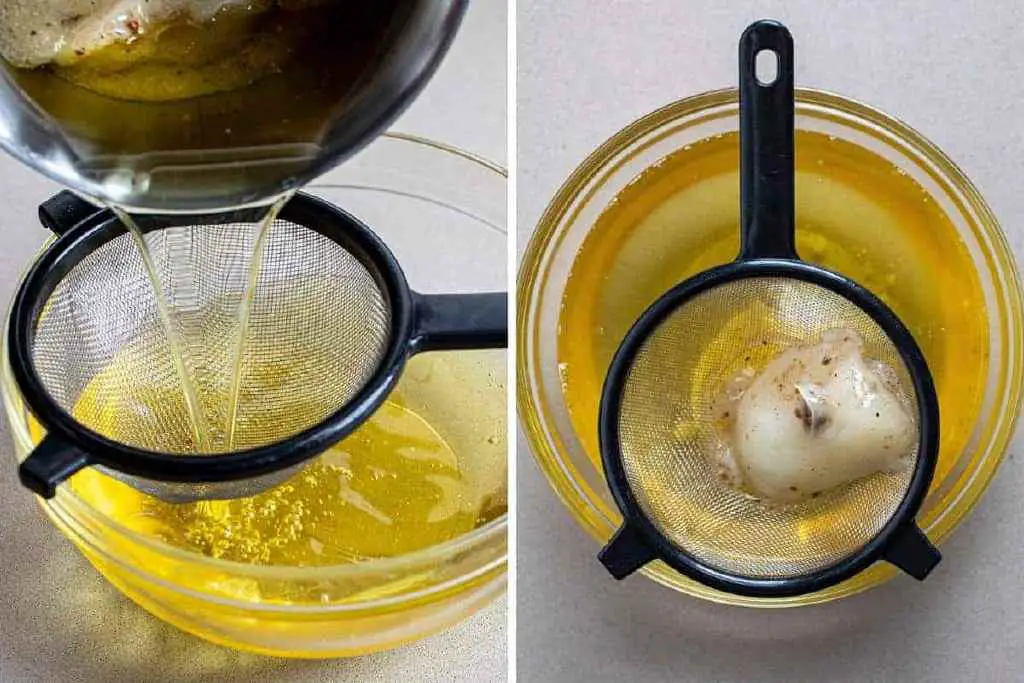
Step 3: Strain the Oil
Now that your oil is cool, it’s time to strain out the solid bits. Place your fine mesh strainer over the large container and pour the oil through it. This initial straining removes most of the food particles. If your oil still looks cloudy or has small bits floating around, don’t worry!
Step 4: Filter for Clarity
To clean your oil, place your cheesecloth or coffee filter in the strainer. Slowly pour the strained oil through this additional layer. It’s a bit of a slow process, but trust me—it’s worth it. You’ll end up with beautifully clear oil ready for its next culinary adventure!
Step 5: Heat (Optional)
If you’ve been frying something particularly flavorful, like fish, you might want to heat the oil a bit to help remove lingering odors. Simply pour the filtered oil into a saucepan and heat it gently on the stove for a few minutes. Avoid boiling; you just want to warm it up enough to evaporate any strong smells. Afterward, let it cool and repeat the straining process if necessary.
Step 6: Store Properly
After cleaning your oil and preparing it for reuse, it’s crucial to store it properly. Transfer it into a clean glass jar or bottle. Make sure it’s airtight to prevent any rancidity. Label the container with the type of oil and the date you purified it.
| Storage Tips | Description |
| Airtight Containers | Use glass or plastic bottles with tight-fitting lids. |
| Cool, Dark Place | Store in a cupboard or pantry, away from light. |
| Limit Exposure to Air | Minimize air exposure to keep the oil fresh. |
Step 7: Know When to Toss It
While reusing oil is fantastic, there comes a time when you should let it go. If your oil smells rancid, looks thick or sticky, or has an unusual color, it’s time to say goodbye. Trust your senses—they’ll guide you. Typically, I find that used oil can last for about one month if stored correctly, but always check for those signs before using it again.
Tips for Preventing Oil Degradation
Now that you’ve mastered purifying oil, let’s talk about how to extend its lifespan. Here are some tips I swear by:
- Fry Similar Foods Together: Keep flavors consistent. Frying potatoes? Stick to fries and avoid frying fish afterward.
- Temperature Control: Keep the frying temperature between 350°F to 375°F. Oil breaks down faster at higher temperatures.
- Use Fresh Oil: To help extend the life of your reused oil, mix fresh oil with used oil.
- Avoid Water Contamination: Water speeds up rancidity. Make sure food is dry before frying.
How Do You Clear Cloudy Cooking Oil?
Clearing cloudy cooking oil can seem like a daunting task, but it’s quite straightforward once you know the right steps to take. Food particles, moisture, or the breakdown of the oil itself typically cause cloudiness in oil. To restore your cooking oil’s clarity, start by straining it through a fine mesh sieve to remove larger food particles. This step alone can make a significant difference.
Next, to get rid of finer particles, consider using a coffee filter or cheesecloth. Place the filter in the sieve and pour the strained oil through it. This secondary filtration process will help eliminate the remaining cloudiness and leave you with clearer oil. If the oil still appears cloudy, you might need to heat it gently on the stove for a few minutes, which can help evaporate moisture and separate impurities.
Once you achieve a clear result, store your oil in a clean, airtight container away from light and heat. Following these steps not only enhances the oil’s appearance but also improves the quality of your dishes in the kitchen. Remember, properly maintained oil contributes to better flavor and a healthier cooking experience!
How Do You Dissolve Old Cooking Oil?
If you don’t store cooking oil properly, it can go bad. When it starts to smell rancid or taste bad, it’s time to get rid of it. You can dissolve old cooking oil in a variety of ways.
One method is to pour old cooking oil over a piece of cardboard and allow it to dissolve. method. soak up. Once the cardboard has soaked up, dispose of it in the trash.
Another way to dissolve old cooking oil is to pour it into a container and add a few drops of dish soap. Let it sit for a few minutes, then scrub it with a brush. Rinse the container with water and dispose of the oil.
You can also dissolve old cooking oil by pouring it into a pan and heating it until it boils. Once it boils, turn off the heat and let it cool. Pour the oil into a container and discard it.
Whichever way you choose to dissolve old cooking oil, be sure to dispose of it properly.
Conclusion: Your Oil, Your Rules
Cleaning and reusing cooking oil has changed the game in my kitchen. Not only do I save money, but I also feel like I’m making a positive impact on the environment. It’s satisfying to know that I’m using every last drop of that oil to reduce waste.
So, the next time you finish cooking and consider tossing out that dirty oil, think again! With a little effort, you can purify it and keep it in your kitchen arsenal for another day. Your taste buds and wallet will thank you, trust me!
Now, who’s ready to put these tips into action? Let’s get cooking!


