How to Blanch Brussels Sprouts for Freezing? Easy Step-by-step Guide
Are you a fan of Brussels sprouts, those tiny, nutrient-packed cabbages that add a burst of flavor to any dish? If so, you know that their prime season can be fleeting, leaving you longing for their deliciousness when they’re out of reach. But fear not! We have a solution that will allow you to enjoy the vibrant taste and health benefits of Brussels sprouts all year: freezing! And the key to perfectly preserving their goodness lies in blanching.
Blanching Brussels sprouts before freezing might sound like a complicated process, but trust us, it’s a lot easier than you think. In this easy step-by-step guide, we’ll take you through the entire blanching process, ensuring that you have the knowledge and skills to freeze Brussels sprouts like a pro. From selecting the freshest sprouts to mastering the ideal blanching time, we’ve got you covered.
So, let’s dive in and unlock the secrets of blanching Brussels sprouts for freezing. Get ready to savor their delightful taste and maintain their vibrant color and nutritional value, no matter the season!
What is Blanching?
Blanching, a fascinating culinary technique, offers a delightful way to preserve the quality of vegetables for extended periods. Imagine a pot of bubbling water, eagerly awaiting the arrival of vibrant vegetables. As the water reaches its boiling point, the vegetables are gently immersed, surrounded by a steamy embrace. The boiling water acts as a catalyst, stimulating the vegetables’ enzymes, releasing their natural flavors and colors.
However, this process is abruptly halted to retain the vegetables’ peak qualities. Plunging them into an ice bath invites a contrasting sensation, as the vegetables experience a swift, icy embrace.
The rapid cooling stops the enzyme activity in its tracks, preserving the integrity of flavor, color, and texture. This meticulous technique ensures that when you retrieve the vegetables from storage, they retain their original vibrancy and freshness
Blanching, though simple in concept, yields remarkable results. This culinary ritual ensures a longer shelf life without sacrificing taste or appearance by heating and cooling vegetables. Next time you enjoy a perfectly cooked dish with tender-crisp vegetables, appreciate blanching, a technique that preserves nature’s vibrant gifts and enhances your dining experience.
Why is Blanching Necessary for Freezing Brussels Sprouts?
Blanching is a crucial step before freezing vegetables. Freezing Brussels sprouts without blanching can result in a subpar frozen product. Blanching helps to retain the sprouts vibrant green color and firm texture.
By blanching Brussels sprouts before freezing, you can extend their shelf life and maintain Brussels sprouts taste and nutritional value. By blanching Brussels sprouts before freezing, you can ensure that they maintain their quality and taste for an extended period.
Benefits of Blanching Brussels Sprouts for Freezing
Blanching Brussels sprouts offers several benefits when it comes to freezing them. Some key advantages include:
- Preserving Color: Blanching helps retain the appealing green color of Brussels sprouts, making them more visually appealing after freezing and thawing.
- Maintaining Texture: Blanching helps preserve the firmness and texture, preventing Brussels sprouts from becoming mushy or soft during freezing.
- Enzyme Inactivation: Blanching inactivates enzymes that can cause the deterioration of flavor, texture, and nutritional value over time.
- Bacteria Elimination: Blanching kills bacteria and microorganisms that may be present on the surface of the Brussels sprouts, ensuring safe storage.
Now that we understand the importance and benefits of blanching Brussels sprouts for freezing, let’s move on to the step-by-step process.
How to Blanch Brussels Sprouts for Freezing? (Step-by-step Guide)
Step 1: Prepare the Brussels Sprouts
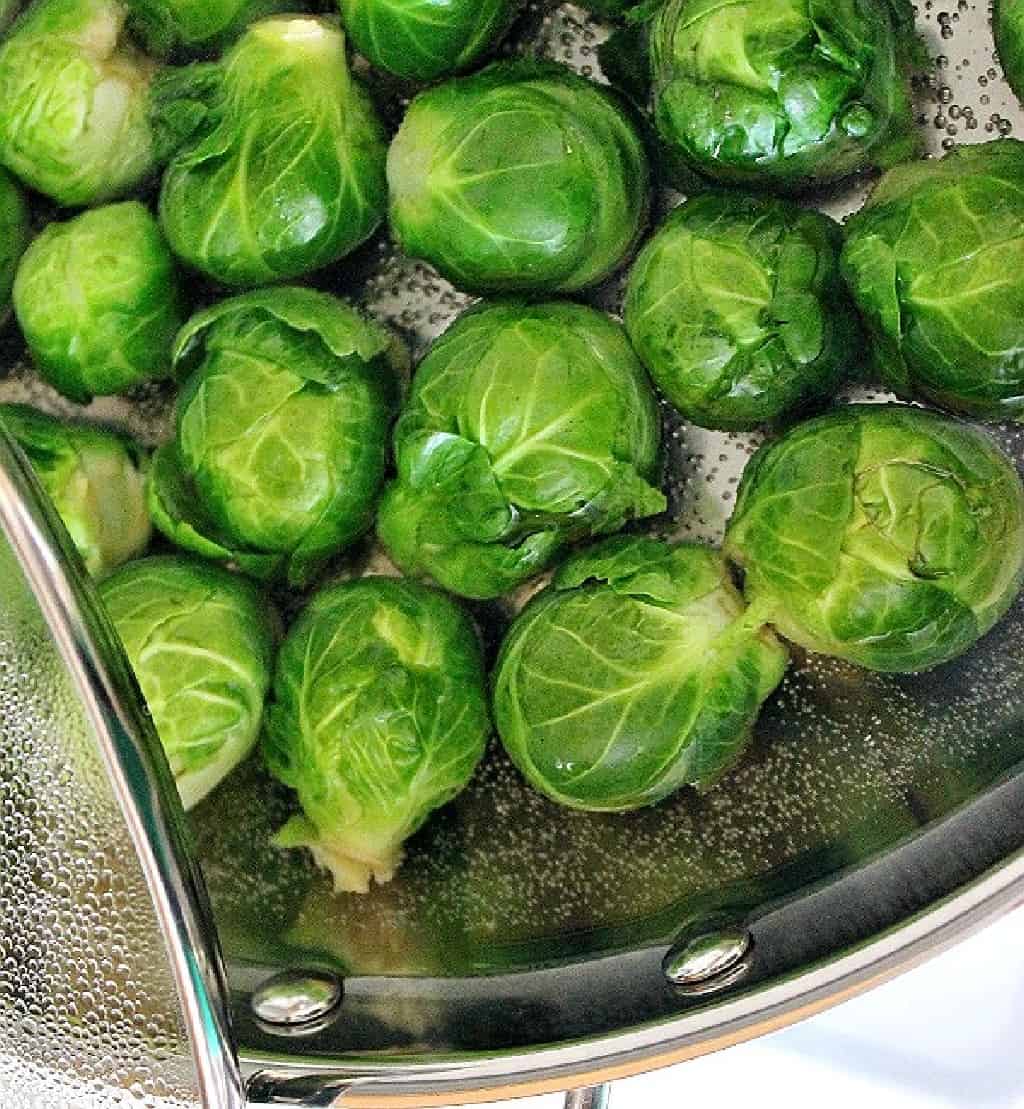
- Start by selecting fresh, firm Brussels sprouts. Look for sprouts that are tightly closed and have vibrant green leaves. Avoid sprouts with yellowing or wilting leaves, as they may not freeze well.
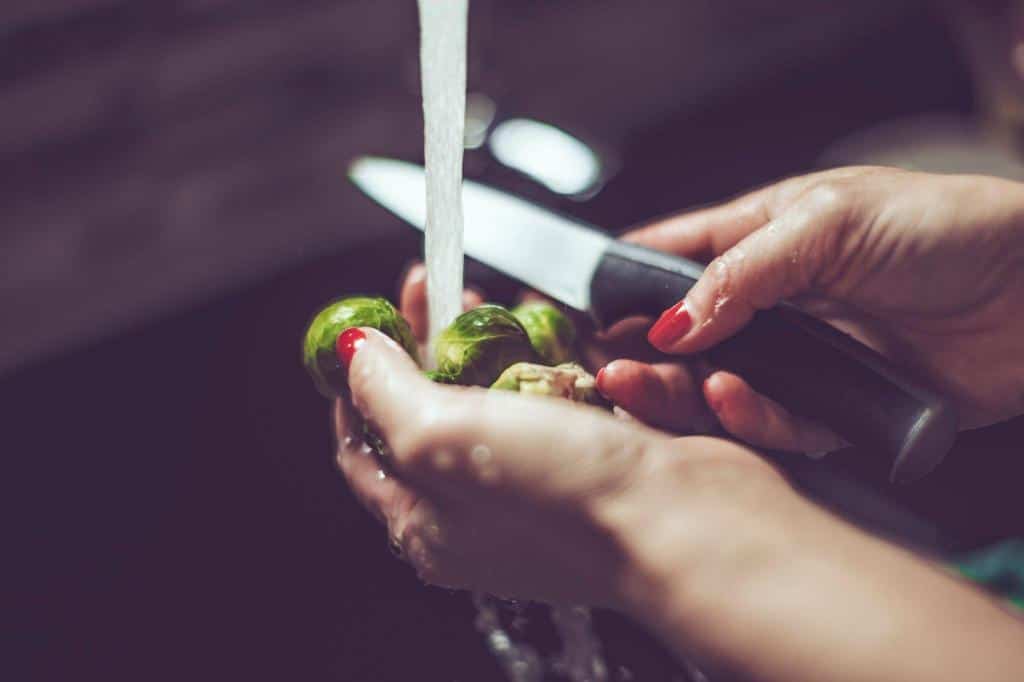
- Rinse the Brussels sprouts thoroughly under cool running water to remove any dirt or debris. You may opt to soak Brussels sprouts in salt water to reduce their bitterness. Trim the ends of each sprout and remove any loose or damaged outer leaves.
Step 2: Blanching Brussels Sprouts
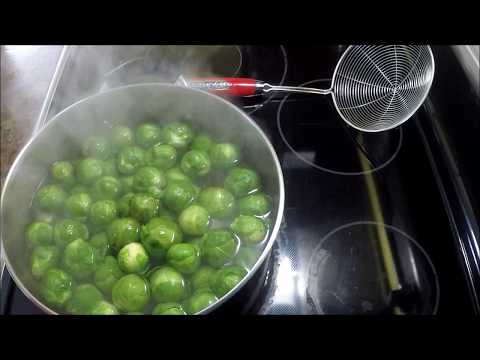
- Fill a large pot with water and bring it to a rolling boil. The pot should be large enough to accommodate the Brussels sprouts comfortably.
- While the water is heating, prepare a large bowl filled with ice. This will be used to cool the blanched Brussels sprouts quickly.
- Once the water reaches a boil, carefully add the Brussels sprouts to the pot. Make sure not to overcrowd the pot; it’s best to blanch them in batches if necessary.
- Allow the Brussels sprouts to blanch for about 3-5 minutes. The exact blanching time may vary depending on the size of the sprouts. Aim for a slightly tender texture without overcooking.
Read: Steaming or Boiling Brussels sprouts, Which one is better?
| Brussels Sprout Size | Blanching Time |
| Small (1 inch or less) | 3 minutes |
| Medium (1 to 1.5 inch) | 4 minutes |
| Large (1.5 to 2 inch) | 5 minutes |
- While the sprouts are blanching, set a timer to ensure you don’t overcook them. Overcooking can result in mushy sprouts with diminished flavor and nutrients.
- After the recommended blanching time, use a slotted spoon or tongs to transfer the sprouts from the pot into the ice water bath. Let them sit in the ice water for the same amount of time as the blanching time.
Step 3: Drain and Package the Brussels Sprouts
- Once the sprouts have cooled in the ice bath, drain them thoroughly. You can use a colander or a clean kitchen towel to remove excess moisture.
- Place the drained Brussels sprouts in freezer-safe containers or plastic freezer bags. Remove as much air as possible from the bags before sealing to prevent freezer burn.
- Label the containers or bags with the date of freezing for easy reference later on.
- Place the containers or bags in the freezer, ensuring they are arranged in a single layer to facilitate faster freezing.
Tips for Blanching Brussels Sprouts
- It is essential to blanch Brussels sprouts as soon as possible after harvesting or purchasing them to preserve their freshness.
- Blanching time can vary depending on the size and tenderness of the Brussels sprouts. Larger sprouts may require a slightly longer blanching time.
- Remember to keep a close eye on the sprouts while they are blanching to avoid overcooking. The goal is to retain a vibrant green color and a slightly tender texture.
- Always use a timer to ensure precise blanching times.
- Properly sealed and labeled containers or bags are crucial for organizing and identifying the frozen Brussels sprouts easily.
- Frozen Brussels sprouts can be stored in the freezer for up to 12 months. However, for the best quality, it is recommended to consume them within 8-10 months.
Storing and Using Frozen Brussels Sprouts
Now that your Brussels sprouts are properly blanched, drained, and frozen, it’s important to know how to store and use them effectively. Follow these guidelines for optimal results:
1. Recommended Storage Time for Frozen Brussels Sprouts
For the best quality, use the frozen Brussels sprouts within 10 to 12 months of freezing. While they may still be safe to eat beyond this time, the flavor and texture may deteriorate.
2. Tips for Organizing and Optimizing Freezer Space
To maximize freezer space and keep your frozen Brussels sprouts organized, consider these tips:
- Stack the containers or bags neatly to save space.
- Place the containers in a single layer until fully frozen, and then you can stack them.
- Utilize labels or markers to easily identify the contents and date of freezing.
3. Thawing and Using Frozen Brussels Sprouts in Recipes
When you’re ready to use your frozen Brussels sprouts, follow these steps:
- Remove the desired portion from the freezer.
- Thaw the Brussels sprouts in the refrigerator overnight or use the defrost setting on your microwave.
- Once thawed, you can incorporate the Brussels sprouts into various recipes like stir-fries, soups, stews, or roasted dishes.
Frequently Encountered Problems and Troubleshooting
Blanching Brussels sprouts for freezing can occasionally present challenges. Here are some common problems you may encounter and troubleshooting tips to overcome them:
1. Over Blanching or Under Blanching Brussels Sprouts
Over blanching can lead to mushy Brussels sprouts, while under blanching may not adequately halt enzyme activity. To ensure proper blanching, follow the recommended blanching times based on the size of the sprouts. Refer to the blanching time table provided earlier in this guide.
2. Dealing with Mushy or Discolored Brussels Sprouts
If your blanched Brussels sprouts turn out mushy or discolored, it could be due to overcooking or inadequate cooling. Ensure that you follow the specified blanching time and rapidly cool the sprouts in the ice bath to maintain their desired texture and appearance.
3. Addressing Off-Flavors or Loss of Texture in Frozen Brussels Sprouts
If you notice off-flavors or a loss of texture in your frozen Brussels sprouts, it could be due to improper packaging or extended storage time. Ensure that your containers or bags are airtight and that you use the frozen sprouts within the recommended storage period of 10 to 12 months.
Tips for Maximizing the Quality of Frozen Brussels Sprouts
To ensure the highest quality of your frozen Brussels sprouts, consider the following tips:
1. Selecting the Freshest Brussels Sprouts for Blanching
Choose fresh Brussels sprouts that are firm, compact, and vibrant in color. Avoid sprouts with signs of wilting, browning, or soft spots.
2. Blanching Brussels Sprouts in Smaller Batches for Better Results
Blanching Brussels sprouts in smaller batches allows for more efficient heat transfer and better preservation of color and texture.
3. Incorporating Blanch Brussels Sprouts into Various Recipes
Experiment with different recipes that incorporate blanched Brussels sprouts. From roasted Brussels sprouts with garlic to sautéed sprouts with bacon, there are numerous delicious ways to enjoy this versatile vegetable.
By following this easy step-by-step guide, you can confidently blanch Brussels sprouts for freezing and enjoy their fresh flavor and nutritional benefits throughout the year. So, go ahead and stock your freezer with these delectable green gems, knowing that they will be ready to enhance your favorite recipes whenever you desire. Happy blanching and freezing!
Read: How To Char Brussels Sprouts? Step-by-Step Guide for Smoky Sprouts
Conclusion
Blanching Brussels sprouts before freezing is a simple yet crucial step to preserve their flavor, color, and nutritional value. By following this easy step-by-step guide, you can ensure on how to blanch Brussels sprouts before freezing. Doing so will make your frozen Brussels sprouts remain delicious and vibrant even when they are out of season.
So, the next time you come across a fresh batch of Brussels sprouts, don’t hesitate to blanch and freeze them for future enjoyment. With this preservation method, you can savor the delightful taste and numerous health benefits of Brussels sprouts all year.
FAQs
Can you freeze Brussels sprouts without blanching?
Freezing Brussels sprouts without blanching is not recommended. Blanching is essential as it helps preserve their flavor, texture, and nutritional value. Without blanching, the sprouts may suffer from freezer burn, loss of color, and diminished taste and quality.
Do you need to blanch Brussels sprouts before roasting?
Blanching Brussels sprouts before roasting is not necessary. Roasting Brussels sprouts can bring out their natural sweetness and enhance their flavors without the need for blanching. Simply toss them in oil, seasonings, and roast them in the oven until they turn golden brown and crispy.
How do you know when Brussels sprouts are properly blanched?
Properly blanched Brussels sprouts should have a vibrant green color, a slightly tender texture, and retain their original shape. The blanching time usually ranges from 3-5 minutes, depending on the size of the sprouts. Use a timer and regularly check their doneness to avoid overcooking, which can lead to mushy sprouts.
Can I blanch Brussels sprouts and then freeze them without drying them?
It is advisable to dry blanched Brussels sprouts before freezing. After blanching, drain the sprouts thoroughly and pat them dry with a clean kitchen towel. Excess moisture can result in ice crystals forming on the sprouts, leading to freezer burn and texture deterioration during freezing.
Can I blanch Brussels sprouts in the microwave?
While it is possible to blanch Brussels sprouts using a microwave, it is not the recommended method. Microwave blanching may result in uneven cooking and texture changes. It is best to use the traditional blanching method of boiling water or steam followed by an ice bath for optimal results.
Are blanched Brussels sprouts as nutritious as fresh ones?
Blanching helps retain the nutritional value of Brussels sprouts to a great extent. While there may be a slight loss of certain nutrients during blanching, the overall nutritional content remains relatively intact. Proper blanching and freezing ensure that the sprouts retain their essential vitamins, minerals, and fiber, making them a nutritious option even after freezing.
Can I blanch and freeze Brussels sprouts with seasoning or spices?
Yes, you can blanch Brussels sprouts with seasoning or spices before freezing. However, it is important to note that some seasonings and spices may lose their potency during the freezing process. It is recommended to add seasonings and spices when cooking or preparing the Brussels sprouts after thawing, rather than before freezing, for the best flavor experience.