How To Clean And Cook Pumpkin Seeds: Step-by-Step Guide
I’ll be the first to admit that carving pumpkins is a blast. But let’s be real—what really steals the show is the pumpkin seeds! Every year, I find myself elbow-deep in pumpkin guts, sifting through the mess to collect every single seed.
Why? Because roasted pumpkin seeds are a crunchy, salty treat that makes the effort totally worth it. And once you know how to clean and cook them properly, you’ll never throw those seeds away again.
So, grab that pumpkin, roll up your sleeves, and let’s dive into this step-by-step guide for transforming pumpkin seeds into a snack you won’t be able to resist.
Why Pumpkin Seeds Are Worth the Effort
Before we get into the nitty-gritty, let’s talk about why pumpkin seeds deserve your time. Not only are they delicious, but they’re also packed with nutrients like magnesium, zinc, and healthy fats. Plus, they’re a great source of protein, making them a perfect snack for any time of day.
Whether you enjoy them plain, salty, or seasoned with something bold, pumpkin seeds offer versatility that’s hard to beat.
Step 1: The Pumpkin Guts Dance (AKA Scooping Out the Seeds)
Let’s face it, scooping out pumpkin guts isn’t exactly glamorous, but it’s the first step to getting those glorious seeds. You’ll need a sturdy spoon or, if you’re feeling adventurous, just use your hands and dive in. I usually go with the hands-on method—it’s messy, but oddly satisfying.
Here’s how to scoop the seeds out:
- Start by cutting the top off your pumpkin, creating a lid.
- Reach inside and pull out all the stringy insides (this is the “guts” of the pumpkin).
- Place the seeds and pulp into a large bowl. Don’t worry about separating the seeds yet; we’ll tackle that in the next step.
Step 2: Separating the Seeds from the Pulp
Now that you’ve got a big, gloopy pile of pumpkin guts, it’s time to separate the seeds from the pulp. This part is a bit like panning for gold. You’ll sift through the pulp and pick out the seeds, one by one.
Pro Tip: Soaking Seeds Makes Separation Easier
Fill the bowl with water, and you’ll see the seeds float to the top while the pulp sinks. This trick makes separating the seeds a whole lot easier.
Once you’ve collected your seeds, place them in a colander to drain and rinse them under cold water. Make sure to rub them gently to remove any remaining pulp.
Step 3: Drying the Seeds
This step might seem like a throwaway, but drying your pumpkin seeds properly makes all the difference. Trust me, if you roast wet seeds, they’ll steam instead of crisp up, and nobody wants soggy pumpkin seeds!
How to Dry Pumpkin Seeds:
- After rinsing, spread the seeds out on a clean kitchen towel or paper towel.
- Pat them dry, but be gentle—you don’t want to crush them.
- Let them sit out for a few hours or overnight if you have time. This extra drying time helps them get that perfect crunch when roasted.
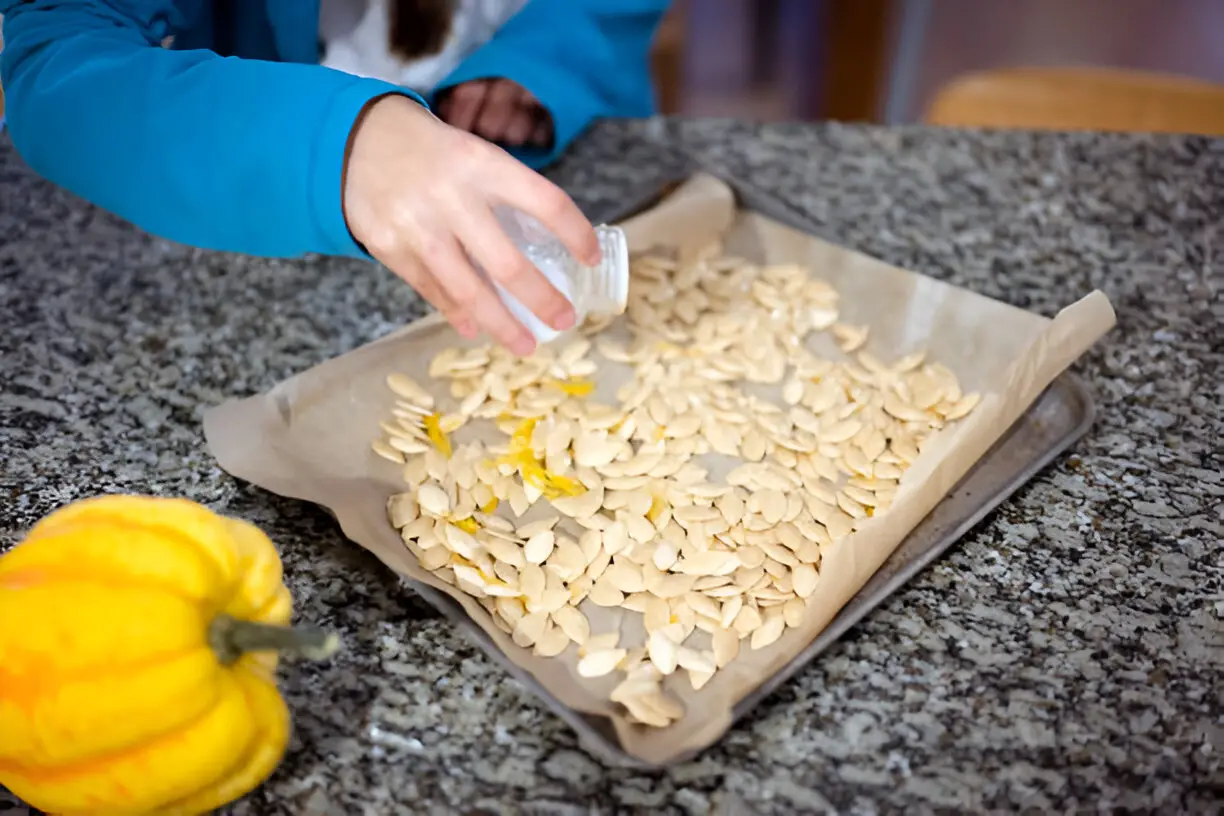
Step 4: Seasoning the Seeds
Now comes the fun part: seasoning your seeds! You can go simple with just salt, or you can get adventurous with different spices and flavors. I’ve found that a little creativity goes a long way in making pumpkin seeds truly special.
Here are a few seasoning ideas to get you started:
- Classic Salted: Olive oil + sea salt
- Spicy Kick: Olive oil + paprika + cayenne pepper
- Sweet and Savory: Olive oil + cinnamon + brown sugar
- Garlic Parmesan: Olive oil + garlic powder + grated Parmesan
How to Season Pumpkin Seeds:
- In a mixing bowl, toss the dried seeds with a bit of olive oil. The oil helps the seasoning stick and gives the seeds a delicious golden crunch.
- Add your seasonings of choice and toss until evenly coated.

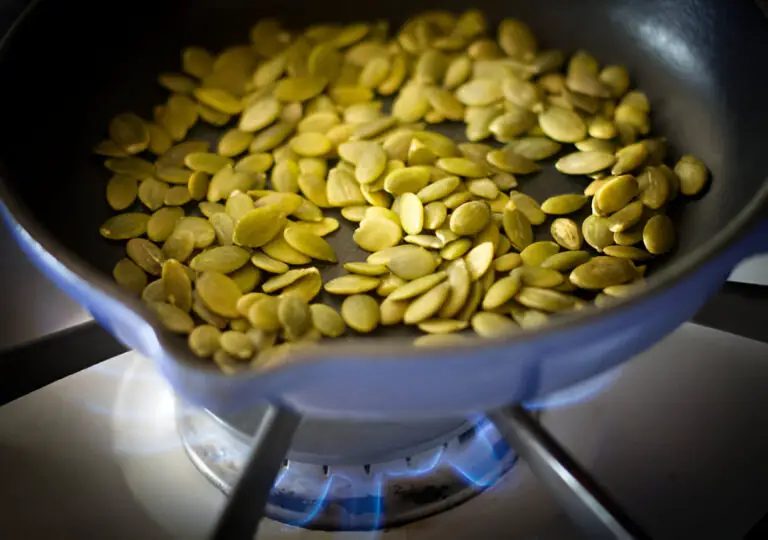
Step 5: Roasting the Seeds
Roasting pumpkin seeds is where the magic happens. It’s where they transform from slimy little guys into crunchy bites of goodness.
How to Roast Pumpkin Seeds:
- Preheat your oven to 300°F (150°C).
- Spread the seasoned seeds in a single layer on a baking sheet lined with parchment paper or foil.
- Bake for 20-30 minutes, stirring the seeds every 10 minutes so they roast evenly.
- Keep an eye on them—they should turn golden brown and crispy but be careful not to burn them!
Pumpkin Seeds Roasting Comparison Table
| Seasoning | Oven Temperature | Time | Texture | Flavor Profile |
| Classic Salted | 300°F (150°C) | 20-30 mins | Crunchy, light | Salty, savory |
| Spicy Kick | 300°F (150°C) | 20-30 mins | Crisp with a kick | Spicy, bold |
| Sweet and Savory | 300°F (150°C) | 20-30 mins | Sweet crunch | Sweet with a hint of salt |
| Garlic Parmesan | 300°F (150°C) | 20-30 mins | Crispy, cheesy | Rich, garlicky, savory |
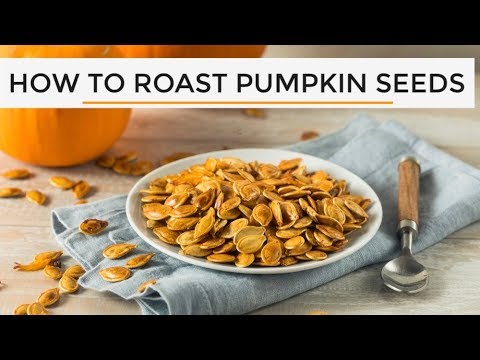
Step 6: Enjoying Your Pumpkin Seeds
Once the seeds are golden and crispy, pull them out of the oven and let them cool slightly (if you can wait that long). Then, go ahead and dig in! There’s something about freshly roasted pumpkin seeds that’s irresistible—each bite is crunchy, flavorful, and packed with nutrients. You can eat them by the handful or sprinkle them on salads, soups, or even yogurt for an added crunch.
Do You Wash Pumpkin Seeds With Cold or Hot Water?
When you are preparing to roast pumpkin seeds, there is a question of whether to wash them with cold or hot water. The answer to this question is that it does not matter. There is no real difference in the end result between using cold or hot water to wash the pumpkin seeds.
Some people believe that using hot water will help to remove any contaminants or pests that may be on the seeds. However, there is no evidence that this is the case. In fact, washing the seeds with hot water may actually increase the chances of spreading any contaminants on the seeds.
Likewise, there is no real benefit to washing the pumpkin seeds with cold water. However, if you are concerned about any contaminants on the seeds, it is best to use cold water to help reduce the risk of spreading any bacteria or pests.
In the end, it does not matter whether you use cold or hot water to wash your pumpkin seeds. However, if you are concerned about any contaminants on the seeds, it is best to use cold water.
How Long Do Roasted Pumpkin Seeds Last?
If you manage to have leftovers (which rarely happens in my house), store the seeds in an airtight container. They’ll stay fresh and crunchy for up to a week.
Extra Tips and Tricks
- Don’t Overcrowd the Baking Sheet: Spread the seeds out in a single layer so they roast evenly. If they’re piled up, they’ll steam instead of roast.
- Taste Test While Roasting: If you’re unsure about the seasoning, taste a seed about halfway through roasting. You can always add a bit more seasoning if needed.
- Low and Slow: Roasting at a lower temperature (300°F) allows the seeds to cook through without burning the outside. You want that perfect golden-brown crunch.
Nutritional Benefits of Pumpkin Seeds
Let’s not forget that pumpkin seeds aren’t just a tasty snack—they’re also a nutritional powerhouse. Here’s a breakdown of what these little seeds offer:
| Nutrient | Benefit |
| Magnesium | Supports muscle and nerve function |
| Zinc | Boosts immune system and aids metabolism |
| Healthy Fats | Promotes heart health and brain function |
| Protein | Helps build and repair muscle |
| Fiber | Aids digestion and helps with satiety |
Soaking vs. Boiling: Which is Better for Pumpkin Seeds?
There are many conflicting opinions on the best way to prepare pumpkin seeds. Some people say that you should soak the pumpkin seeds overnight before boiling them, while others say that you should boil them without any pre-soaking. So, which is the right method between soaking and boiling pumpkin seeds?
The truth is that both methods have their pros and cons, and the best way to prepare pumpkin seeds depends on your own personal preferences. Soaking the seeds overnight can help to soften them and make them easier to digest, while boiling them without pre-soaking will help to kill any bacteria or contaminants on the seeds. However, boiling the seeds can also cause them to become tough and chewy, so it’s up to you to decide which method you prefer.
If you decide to soak the pumpkin seeds, make sure to drain them thoroughly before boiling them. You can also add a bit of salt or oil to the water to help to improve the flavor. Boil the seeds for about 10 minutes, or until they are soft, and then drain them again before serving.
If you decide to boil the pumpkin seeds without pre-soaking, make sure to rinse them well before boiling. Boil the seeds for about 15 minutes, or until they are soft, and then drain them again before serving.
Whichever method you choose, make sure to enjoy your delicious and nutritious pumpkin seeds!
The Bottom Line
Cleaning and cooking pumpkin seeds might seem like a messy ordeal at first, but once you get the hang of it, it’s as easy as pie—pumpkin pie, that is. Plus, you’re not just making a snack, you’re creating a healthy, flavorful treat that’s perfect for fall and beyond.
So the next time you carve a pumpkin, don’t toss those seeds! Follow this guide, and you’ll have a bowl of crunchy, seasoned pumpkin seeds that’ll make you wonder why you ever considered throwing them away in the first place.
Happy roasting!