How to Make Almond Milk Yogurt with Store-Bought Almond Milk
Making almond milk yogurt from store-bought almond milk opens up a world of creamy, dairy-free goodness. I’ve experimented with this recipe a few times, and I love how simple it is, whether or not you have an Instant Pot. Plus, with just a handful of ingredients and minimal effort, the outcome feels like a labor of love that rewards you with tangy, homemade yogurt every morning.
Can You Really Make Almond Milk Yogurt?
Absolutely! With five basic ingredients—almond milk, agar-agar powder, yogurt starter, arrowroot starch, and a little patience—you’ll have your yogurt ready to enjoy.
The best part? The process only takes a few minutes of prep time, leaving the magic to happen overnight. Here’s a deep dive into how I make my almond milk yogurt and tips that make the process seamless.
Ingredients You’ll Need
Before diving into the method, let’s gather our ingredients:
| Ingredient | Why it’s Important |
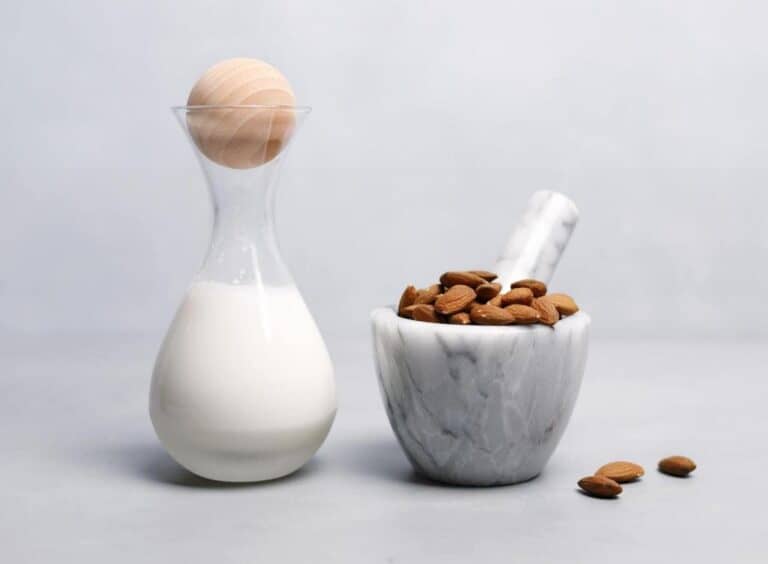
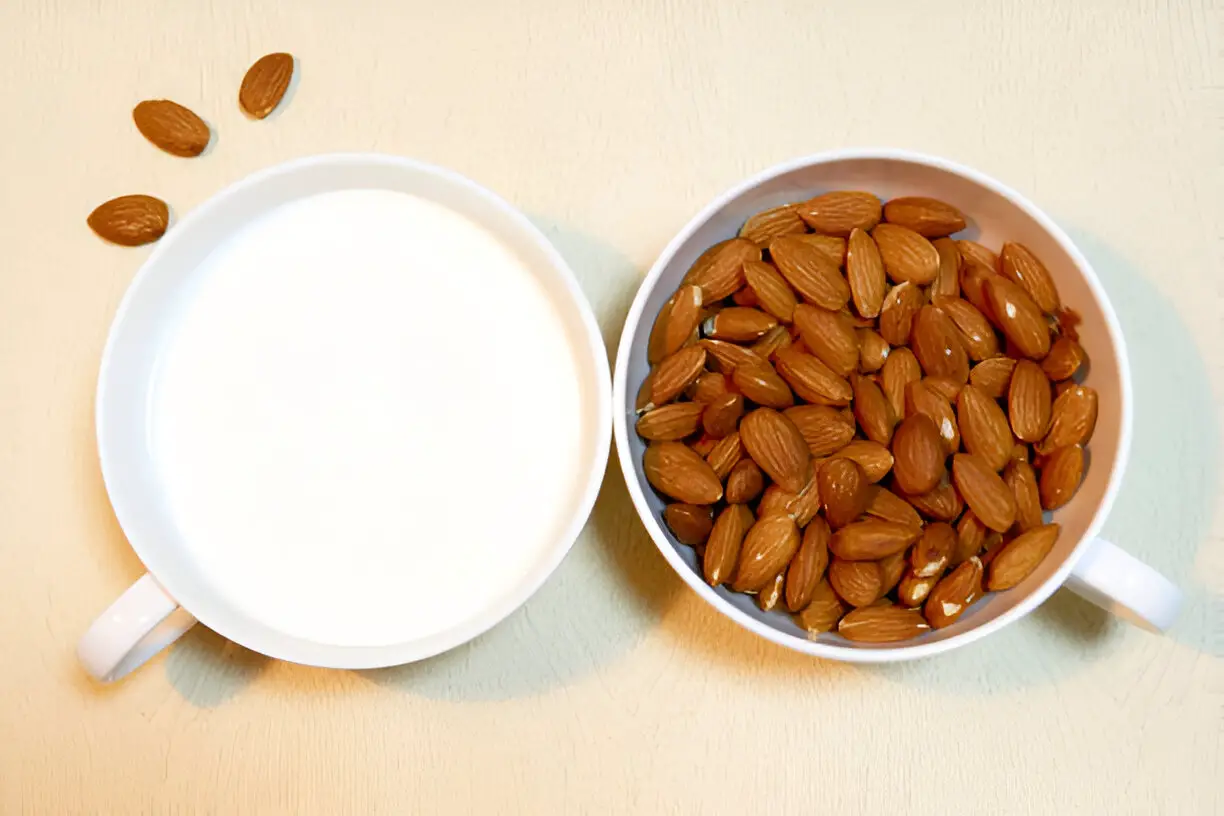
| Almond Milk | The base for your yogurt. Opt for plain, unsweetened milk. |
| Agar-agar Powder | A natural thickener that works wonders for non-dairy milk. |
| Yogurt Starter | The essential culture that turns milk into yogurt. |
| Arrowroot Starch | Helps to thicken the yogurt and improve texture. |
| Probiotic Capsules | Adds a gut-friendly boost and supports fermentation. |
With everything in place, let’s roll up our sleeves and get to work.
The Step-by-Step Process

1. Prepare the Almond Milk
I start by pouring my store-bought almond milk into a saucepan. I use my favorite drinking mug to measure, keeping in mind that some of the milk will evaporate during heating.
2. Activate the Yogurt Starter
Here’s where the magic begins: open up the probiotic capsules and sprinkle the powder directly into the milk. Stir well to ensure everything gets mixed up properly. This will jumpstart the fermentation process.
3. Add Your Thickeners
Agar-agar and arrowroot starch play key roles in thickening almond milk, which naturally lacks the proteins found in dairy milk. Add them in, whisking thoroughly until smooth.
4. Culture the Milk
Once everything is combined, transfer the mixture into clean jars. Cover the jars with cheesecloth, which allows airflow while preventing any dust from sneaking in. You’ll want to let the yogurt sit undisturbed in a warm spot to culture—temperature is everything here. The ideal range is 105 to 110°F.
Here’s the thing: the longer it cultures, the tangier it gets. You can taste as it ferments to get your yogurt just right for your liking. I tend to let mine sit for about 8-12 hours.
| Also read:Is It Safe to Drink Unopened Almond Milk Past Its Expiration Date? |
What If You Don’t Have an Instant Pot?

You’re in luck because making almond milk yogurt doesn’t require fancy equipment. Here are a couple of my favorite alternatives for maintaining the ideal temperature.
The Insulated Cooler Method
A DIY approach I love is using an insulated cooler. I fill it with warm water (about 110°F), place my jars inside, and close the lid tightly. It’s important to maintain that warm environment, so I usually check the temperature a few times during the process and adjust as necessary. A towel around the cooler adds an extra layer of insulation.
Slow Cooker Hack
Turn off your slow cooker after preheating it and line it with a towel. Place your jars inside, close the lid, and throw another towel over the top for added insulation. This setup mimics the consistent heat you need for culturing.
Sun-Kissed Yogurt
If you’re lucky enough to have a sunny spot in your home, wrap your jars in a towel and let nature do the work. A gentle, sunny day can provide the perfect environment for fermentation.
Instant Pot Shortcut
Now, if you do have an Instant Pot, you’ve struck gold. Just pop the mixture into the pot, select the yogurt function, and let it work its magic. This is definitely the easiest and most consistent method if you’re in a rush and want to ensure perfect results.
How to Store Almond Milk Yogurt
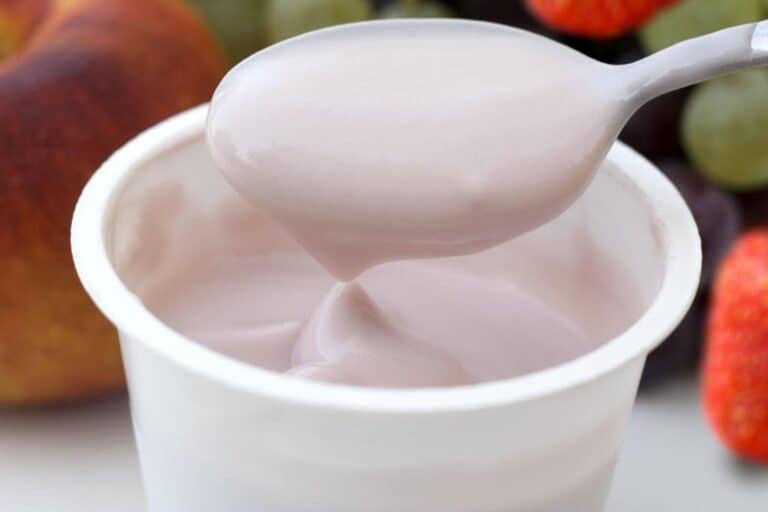
Once the yogurt has reached the right tanginess, pop it into the fridge. It’ll thicken even more as it cools, so don’t worry if it seems a bit runny at first. Store your almond milk yogurt in an airtight container, and it’ll keep almon milk fresh for up to a week.
Note: Freezing almond milk yogurt is a no-go. It doesn’t thaw well, and you’ll end up with a weird, grainy texture that’s far from appetizing.
| Read: Can You Boil Almond Milk for Hot Chocolate? |
Helpful Tips for Success
1. Clean Tools Mean Happy Yogurt
To avoid unwanted bacteria spoiling your yogurt, make sure your utensils, jars, and hands are squeaky clean. I always give my jars a quick rinse with vinegar before pouring in the almond milk, which ensures a fresh, sterile environment.
2. No Finger Dipping Allowed!
Once your milk is heating, keep spoons (and fingers!) out of the pot. Even the smallest contamination can mess with the culture process.
3. Patience is Key
The longer you allow your yogurt to culture, the tangier it will get. If you prefer a milder flavor, start checking around the 8-hour mark. For a bolder taste, let it go for up to 12 hours.
Topping and Flavoring Ideas
You can enjoy almond milk yogurt on its own, but I love adding a bit of flair to mine. Here are a few of my go-to flavor combinations:
| Flavor Add-On | How to Use It |
| Peeled Fruit | Layer half a cup of fresh fruit with your yogurt. |
| Jam Swirl | Mix 3 tablespoons of jam into your yogurt for a fruity kick. |
| Maple Syrup | Drizzle for sweetness, or try date or coconut nectar. |
| Vanilla Extract | Add 3 drops of vanilla for a subtle, sweet flavor. |
| Cocoa + Maple Combo | Stir in a tablespoon of cocoa powder and maple syrup for a rich treat. |
How to Serve Your Almond Milk Yogurt
I love serving almond milk yogurt for breakfast. You can pair it with fresh berries and grain-free granola or get creative with chia seeds and muesli. The possibilities are endless, and the light, creamy texture pairs well with so many toppings.
Final Thoughts
Making almond milk yogurt at home with store-bought almond milk is not only possible, it’s downright easy—and rewarding! Whether you go the Instant Pot route or use a DIY method, you’ll be rewarded with a healthy, plant-based yogurt that you can customize to your heart’s content. With the right tools and a little patience, you’ll have a fresh, tangy yogurt in no time, perfect for breakfast bowls, snacks, or even dessert.
So, go ahead and give it a try! Once you taste that first spoonful of your homemade almond milk yogurt, you’ll wonder why you didn’t start sooner.