How to Prevent Air Bubbles in Your Cream Cheese Frosting for a Smooth Finish
When it comes to frosting, there’s nothing more frustrating than working hard on a batch of cream cheese frosting, only to have air bubbles ruin the smooth, velvety finish you were hoping for. If you’ve ever had your frosting turn into a bubbly mess rather than the smooth, creamy perfection you imagined, you’re not alone. But fear not—I’ve been there, and I’ve learned a few tricks along the way to ensure that your cream cheese frosting stays as smooth as silk.
In this post, I’m going to share with you everything I’ve learned about preventing air bubbles in cream cheese frosting. From the right mixing techniques to tips for using the best ingredients, we’ll tackle all the usual suspects and help you create frosting that’s ready to shine.
Why Do Air Bubbles Appear in Cream Cheese Frosting?
Before we dive into the solutions, let’s take a moment to understand why air bubbles can appear in your frosting in the first place. It all comes down to the mixing process.
When you’re whipping up cream cheese frosting, you’re typically incorporating air into the mixture as you beat the cream cheese, butter, and powdered sugar together. This is what gives the frosting its light and fluffy texture, but if you mix too quickly or too aggressively, you end up with air bubbles trapped inside. Not only does this result in an uneven texture, but it can also cause your frosting to look lumpy or bubbly when spread onto your cake or cupcakes.
In other words, it’s a balancing act. You want enough air to create a light, fluffy frosting, but not so much that it creates unsightly bubbles that ruin the finish. Here’s how to walk that tightrope and prevent those pesky air bubbles from showing up.
The Right Temperature for Cream Cheese Frosting
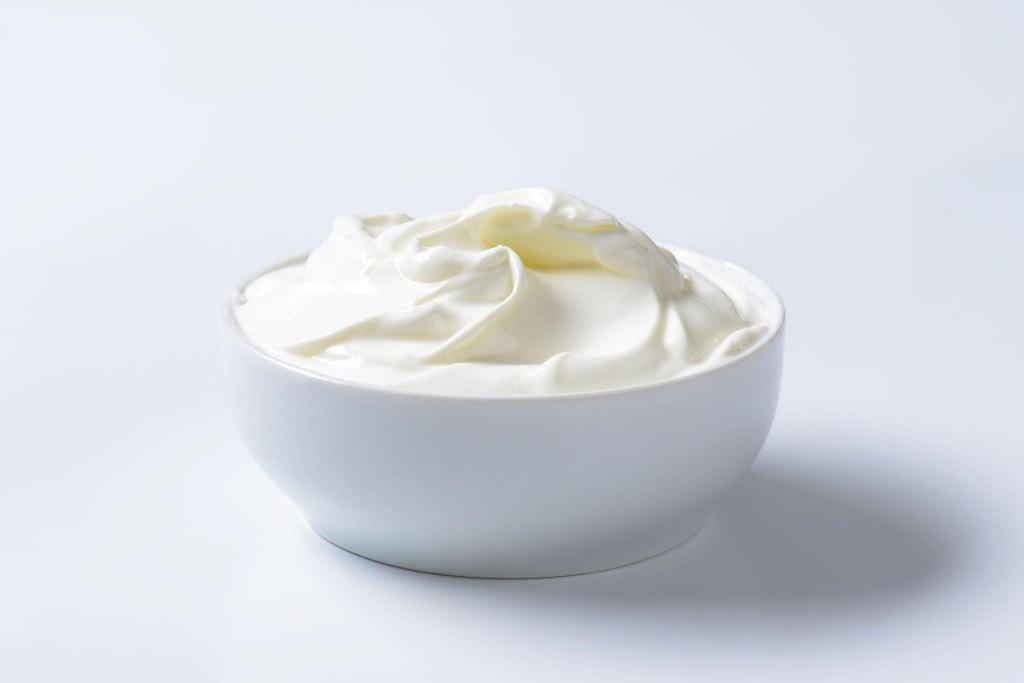
First things first—temperature plays a crucial role in achieving the perfect cream cheese frosting. Both the cream cheese and butter should be at room temperature before you start mixing. If they’re too cold, they won’t blend smoothly and may cause lumps in your frosting, making it more likely that air bubbles will form.
On the flip side, if they’re too warm, the frosting can become too soft and runny, making it harder to spread evenly.
To get both ingredients to the ideal temperature, I recommend pulling them out of the fridge about 30 minutes before you start baking. This gives them enough time to soften and come to room temperature without turning into a soupy mess.
| Check out: What Happens If You Eat Expired Cream Cheese? |
Beat, Don’t Overbeat: The Mixing Method
One of the most common mistakes people make when making cream cheese frosting is overbeating the mixture. While it’s tempting to beat the frosting until it’s light and fluffy, doing so can introduce too much air into the mixture, leading to the dreaded air bubbles.
Instead of mixing too quickly or aggressively, use a steady, medium speed on your mixer. Start by creaming the butter and cream cheese together until they’re fully combined—this should only take a minute or so. Then, gradually add the powdered sugar, a little at a time, while mixing at low speed.
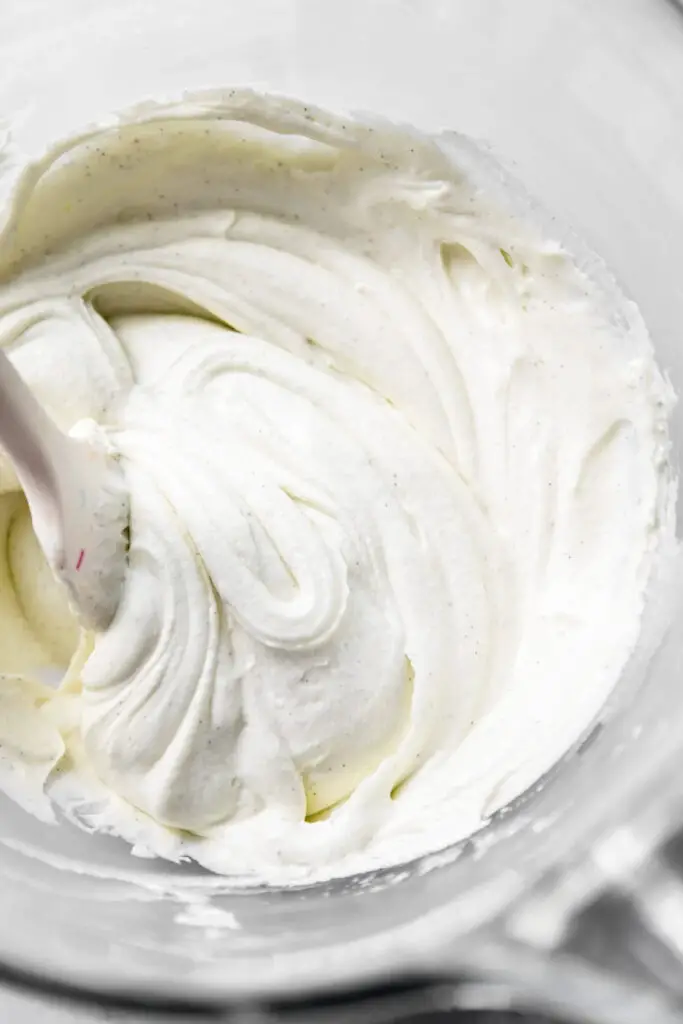
Once it’s fully incorporated, increase the speed to medium and mix until smooth and creamy. Avoid whipping it for too long; once you see a smooth texture, stop. You want to aim for a silky consistency, not a fluffy one.
Sift the Powdered Sugar
Sifting the powdered sugar before adding it to your cream cheese and butter mixture can make a world of difference when it comes to preventing air bubbles. Powdered sugar often contains tiny clumps that can disrupt the smooth texture of your frosting. By sifting the sugar, you’re ensuring that the mixture will be as smooth as possible, without any clumps that could contribute to an uneven texture or air pockets.
The sifting process is simple but effective. Just grab a fine mesh strainer and sift the powdered sugar directly into your mixing bowl. This will help you avoid any lumps and ensure the sugar blends seamlessly into the rest of the ingredients.
Avoid Overmixing the Frosting
Overmixing isn’t just a problem for cream cheese frosting—it’s an issue in many baking recipes. When you mix frosting for too long, the ingredients can break down, and excess air gets trapped inside. The more you mix, the more likely you are to end up with bubbles in your frosting. Once your frosting is smooth and fully combined, stop. You don’t need to continue mixing just for the sake of it.
If you do notice air bubbles starting to form while you’re mixing, a quick fix is to gently tap the bowl on the counter a few times to release the air. Alternatively, you can use a rubber spatula to fold the mixture a few times, gently pressing out any air bubbles without overworking the frosting.
Use a Piping Tip for Precision
When it’s time to frost your cake or cupcakes, using the right tools can help ensure a smooth finish and minimize the chances of air bubbles. A piping bag with a fine-tipped round nozzle works wonders for achieving a smooth, even layer of frosting. When you pipe the frosting onto the cake, apply gentle pressure, allowing the frosting to flow evenly without rushing or forcing it out.
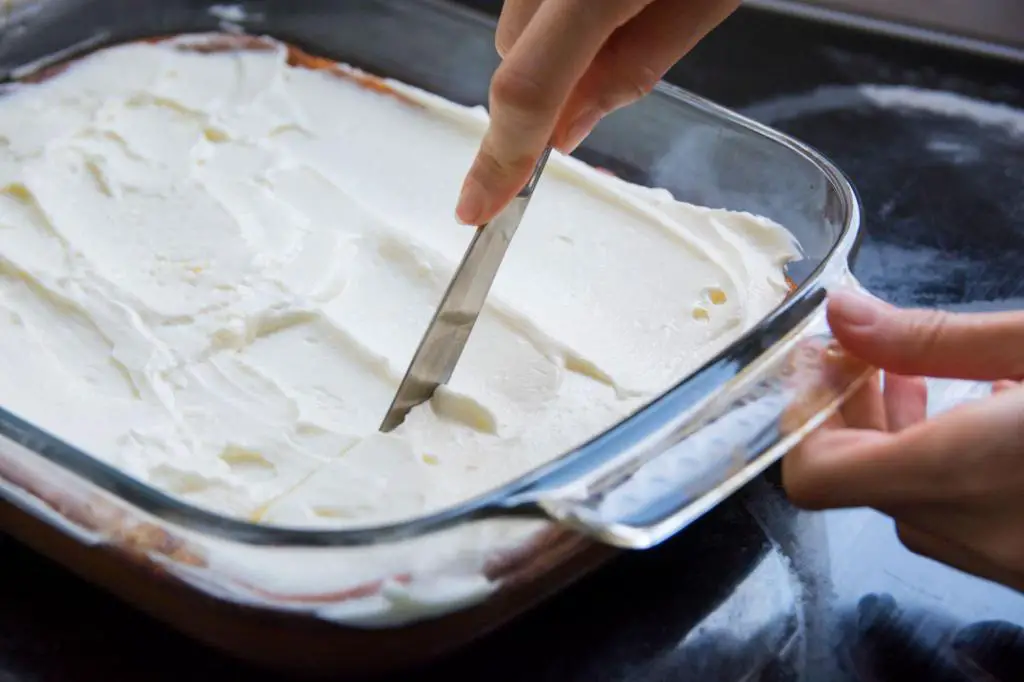
If you’re spreading the frosting with a spatula, be careful not to press too hard or use a back-and-forth motion that can introduce air. Instead, use a gentle, smoothing motion to cover the surface evenly.
Check the Consistency of the Frosting
After mixing, if you find that your frosting is too thick or hard to spread, you can add a small amount of milk or heavy cream to loosen it up. Be sure to add the liquid gradually, just a teaspoon at a time, so you don’t make the frosting too runny. You want a smooth, spreadable consistency that’s not too thick on cream cheese frosting and not too loose.
Conversely, if your frosting is too thin, you can add more sifted powdered sugar to thicken it. Be careful, though—you don’t want to add too much sugar at once. Add a little, mix, and then check the texture until it reaches the perfect smoothness.
Troubleshooting: What to Do If Air Bubbles Appear
Even with the best intentions, sometimes air bubbles sneak into your frosting. If you notice them after frosting your cake, don’t panic. There are a few tricks to smooth them out.
One method is to use a heated offset spatula. Simply dip the spatula in hot water, dry it off, and gently smooth over the frosted cake. The heat helps soften the frosting, allowing you to smooth it out without disturbing the texture too much.
Another trick is to place your cake in the fridge for 10 to 15 minutes to let the frosting firm up. Once it has chilled slightly, you can use a spatula to gently smooth out any air bubbles.
Final Thoughts
Preventing air bubbles in your cream cheese frosting isn’t as difficult as it seems once you know the right techniques. With a little patience and the right methods—room temperature ingredients, proper mixing techniques, and careful handling of the frosting—you’ll be well on your way to creating smooth, professional-looking frosting every time. And if a few bubbles sneak in, don’t worry! There’s always a way to smooth things out and make your cake look picture-perfect.
The key is to avoid rushing, be gentle with your mixing, and let the frosting speak for itself. With these tips, you’ll make frosting that’s as smooth as silk and just as tasty, ready to take any cake or cupcake to the next level!


