Can You Resurface a Blackstone Griddle? A Complete Guide to Restoration
If you’re anything like me, your Blackstone griddle is the unsung hero of your outdoor kitchen. It’s where I’ve cooked everything from sizzling breakfasts to hearty dinners, and let’s face it, it’s seen better days.
The question on my mind, and possibly yours too, is whether you can resurface a Blackstone griddle when it starts looking a bit worse for wear. Spoiler alert: yes, you can! Let’s dive into the nitty-gritty of griddle restoration and make your old griddle look brand new again.
Overview of Blackstone Griddles and Their Popularity in Outdoor Cooking
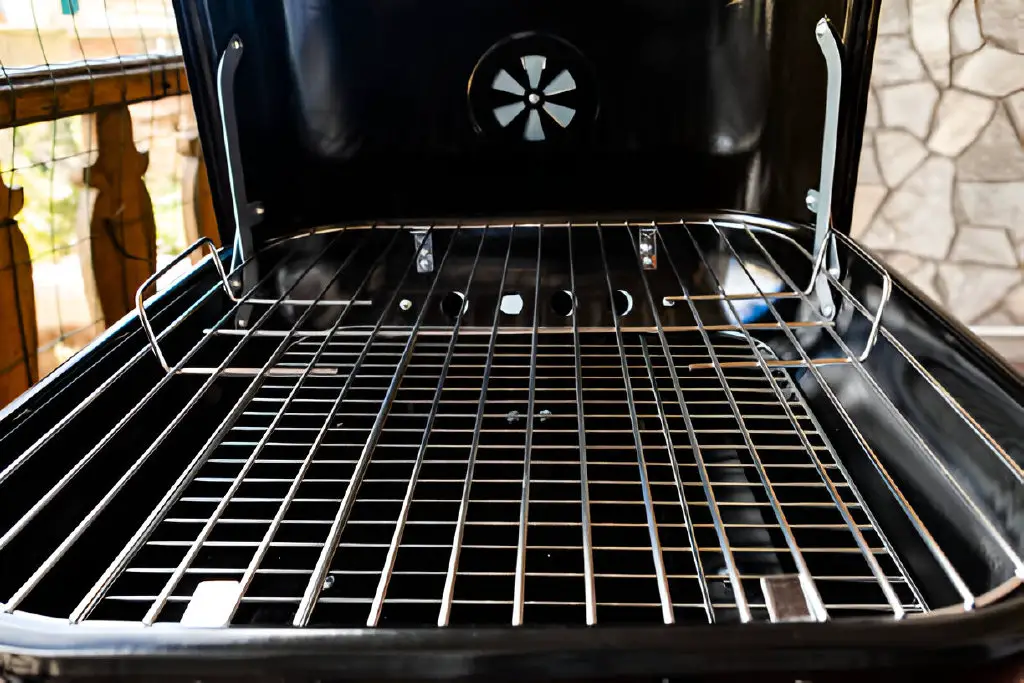
Blackstone griddles have become a staple in outdoor cooking, and for good reason. These versatile appliances have a large, flat surface. It’s perfect for cooking anything, from breakfast to dinner.
Backyard chefs and campers love them. They cook multiple items evenly and quickly. Imagine flipping pancakes for the whole family or searing several steaks at once. The griddle makes it possible.
The appeal of Blackstone griddles lies not only in their functionality but also in their durability. Made of heavy-duty materials, these griddles can withstand high heat and frequent use.
Blackstone griddles are a top choice for outdoor cooking fans. They perform consistently, whether for a summer BBQ or a chilly morning breakfast.
Table: Popular Features of Blackstone Griddles
| Feature | Description |
| Large Cooking Surface | Allows for cooking multiple items at once |
| Durable Construction | Built to handle high temperatures and regular use |
| Versatility | Suitable for a variety of meals and cooking styles |
With their growing popularity, Blackstone griddles have cemented their place as essential tools for anyone who loves to cook outdoors.
Why Resurface a Blackstone Griddle?
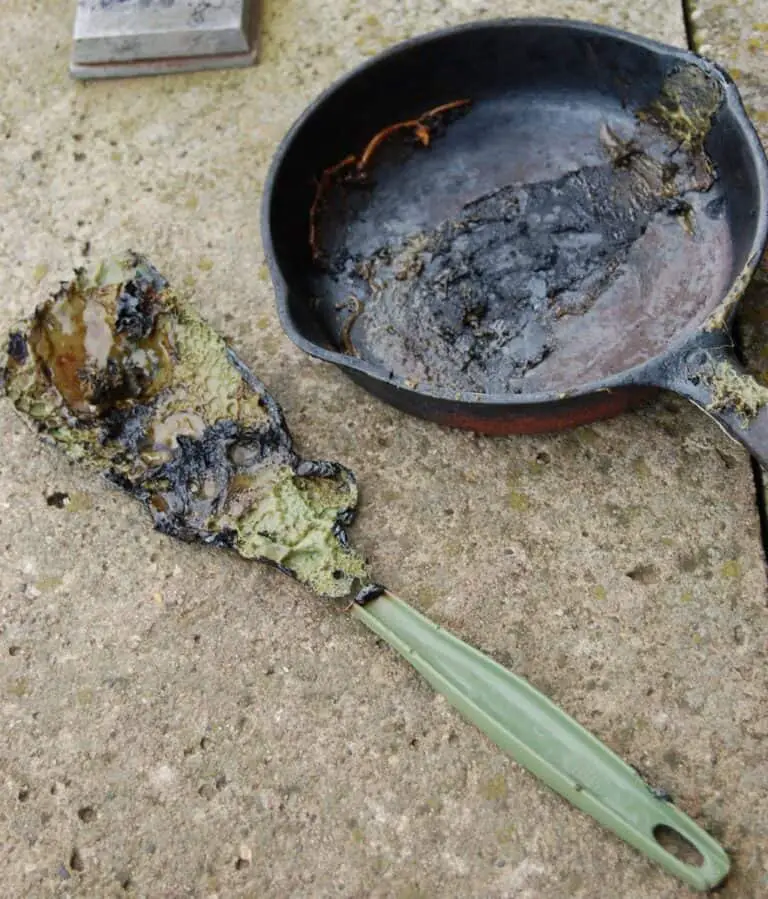
Griddles, especially those that have seen countless breakfast sizzles and dinner grills, can start to show their age. Over time, rust spots may appear, seasoning can wear thin, and stubborn food stains might make your griddle look like it’s been through the wringer.
Resurfacing your Blackstone griddle isn’t just cosmetic. It revives its performance and appearance. It’s like how a fresh paint job and a tune-up can transform an old car.
By resurfacing, you’re not only improving the griddle’s look but also enhancing its functionality. A newly resurfaced griddle performs like it did when it was brand new, ensuring an even cooking surface and better food release.
This process brings back that reliable non-stick surface and can make cleaning a breeze. With your griddle looking and working like new, you can get back to whipping up your favorite meals without any hiccups.
Table: Benefits of Resurfacing Your Griddle
| Benefit | Description |
| Improved Appearance | Restores a like-new look |
| Enhanced Performance | Ensures an even cooking surface |
| Easier Cleaning | Simplifies post-cooking cleanup |
The Resurfacing Process: Step-by-Step
Resurfacing your Blackstone griddle isn’t rocket science, but it does require some elbow grease and attention to detail. Here’s how I tackled it:
- Clean It Up The first step in resurfacing your griddle is a thorough cleaning. You need to remove all food residue, grease, and rust. I used a griddle scraper to get rid of the larger bits and followed up with a mixture of mild soap and water. It’s crucial to scrub every nook and cranny, as any leftover grime will mess with the new surface.
- Remove Rust If you spot rust (which I did), don’t panic. I tackled it with a combination of sandpaper and a rust remover. For stubborn spots, a wire brush came in handy. After removing the rust, I washed the griddle again to get rid of any leftover debris.
- Season the Griddle Once clean, it’s time to season your griddle. This step is akin to applying the finishing coat on a new piece of furniture. I used a high-smoke point oil like flaxseed or vegetable oil. I applied a thin layer of oil over the griddle’s surface, heating it up until the oil smoked. This process created a protective layer that prevents rust and provides a non-stick surface.
Table: Recommended Oils for Seasoning
| Oil Type | Smoke Point (°F) |
| Flaxseed Oil | 225 |
| Vegetable Oil | 400 |
| Canola Oil | 400 |
| Grapeseed Oil | 420 |
Heat and Repeat
Seasoning is not a one-and-done job. I repeated the oiling and heating process several times to build up a robust seasoning layer. Each layer improves the griddle’s non-stick properties and enhances its longevity.- Final Touches
After the griddle cooled down, I gave it a final wipe-down with a clean cloth. This step ensures that any excess oil is removed and the surface is smooth.
Tips and Tricks for a Successful Resurfacing
To avoid any pitfalls in your griddle restoration journey, here are some tips I picked up along the way:
- Work in a Well-Ventilated Area: The oil-smoking process releases fumes, so ensure you’re in a well-ventilated space or outdoors.
- Don’t Overload with Oil: Too much oil can lead to a sticky surface. Less is more when it comes to seasoning.
- Regular Maintenance: Keep an eye on the griddle and reapply seasoning as needed. Regular maintenance can prevent major issues down the line.
Benefits of a Well-Maintained Griddle
A properly resurfaced and maintained griddle not only looks great but performs better. Here’s why it’s worth the effort:
- Enhanced Cooking Performance: A well-seasoned griddle has a non-stick surface. It makes cooking and cleaning easier.
- Increased Longevity: Regular maintenance and resurfacing extend the life of your griddle, so you don’t have to replace it anytime soon.
- Improved Food Flavor: A seasoned griddle can add a subtle flavor to your food, enhancing the overall taste of your meals.
Table: Benefits of Resurfacing Your Griddle
| Benefit | Description |
| Enhanced Cooking | Non-stick surface for easy cooking and cleaning |
| Increased Longevity | Prolongs the life of the griddle |
| Improved Flavor | Adds subtle, rich flavors to your dishes |
Wrapping It Up
Resurfacing your Blackstone griddle may seem daunting. But, it’s doable with patience and the right approach. By following these steps, you can restore your griddle to its former glory and enjoy many more delicious meals. So, roll up your sleeves, grab your tools, and give your griddle the makeover it deserves. Your taste buds will thank you!

