How to Air Dry Ducks at Home (Without Making a Mess in Your Kitchen!)
I still laugh when I think about the first time I tried to air dry a duck in my own kitchen. In my head, the plan looked flawless. I pictured that golden, glass-like crispy skin you see in restaurant dishes—the kind that crackles when your knife touches it.
The reality, however, was a different story. Instead of culinary glory, I ended up with a duck that looked more tired than crispy and a kitchen counter that resembled the aftermath of a cooking experiment gone rogue. Somewhere between optimism and execution, I realized that air drying a duck might sound simple, but it hides a surprising amount of technique.
That first attempt taught me something important: great duck skin doesn’t happen by accident. Restaurants don’t achieve that perfect texture by luck—they rely on careful preparation, patience, and a few clever tricks. Ever wondered why the duck you cook at home sometimes turns out pale or soggy while the one at restaurants arrives perfectly crisp? Or why do chefs insist on air-drying before roasting? Those questions kept bouncing around in my head, and I knew I had to crack the code.
In this article, I’ll share exactly what I learned through trial, error, and a few messy kitchen lessons. You’ll discover how to air dry a duck properly, what mistakes to avoid, and the small techniques that make a big difference. By the time you finish reading, you’ll know how to prepare duck that roasts up with beautifully crisp skin—without turning your kitchen into a culinary crime scene.
Why Air Dry a Duck Anyway?
If you’ve ever bitten into the lacquered skin of Peking duck, you know why this matters. That snap of skin? That golden crunch? It doesn’t happen by accident.
Air drying does three magical things:
- Draws moisture out of the skin
- Tightens the skin so it crisps instead of steams
- Acts as a flavor base for seasoning and glazing
Without it, your duck skin is floppy, greasy, and forgettable. With it, you’re in five-star territory.

What You’ll Need (Minimalist but Mighty)
You don’t need a professional kitchen or a duck-drying dungeon. Just a few household tools will do the trick:
| Item | Purpose |
| Whole duck (cleaned) | The star of the show |
| Baking rack | Allows air circulation all around the bird |
| Sheet pan | Catches drips and keeps things tidy |
| Paper towels | For blotting moisture and lining the tray |
| Refrigerator space | The duck needs its own chilly apartment |
| Fan (optional) | Speeds up the drying process |
| Salt & vinegar (optional) | Helps tighten and dry the skin |
Step-by-Step: Air Drying Duck at Home (The No-Mess Way)
1. Clean and Pat Dry
First thing’s first: remove any giblets and pat the duck bone-dry. I don’t mean a quick dab—I mean channel your inner towel ninja. The drier the better.
Pro Tip: Run your fingers under the skin and loosen it slightly without tearing. This creates tiny air pockets and speeds up drying.
2. Optional Vinegar Rinse
Some chefs swear by it. I tried it, and honestly, I’m a fan.
Mix 1 tablespoon of white vinegar with a cup of water and give your duck a quick rinse. It tightens the skin and gives it a subtle tang.
3. Salt It (Lightly)
Don’t go full ham—this isn’t a dry brine. Just a light sprinkle over the skin to help pull moisture. It also adds a little surface flavor.
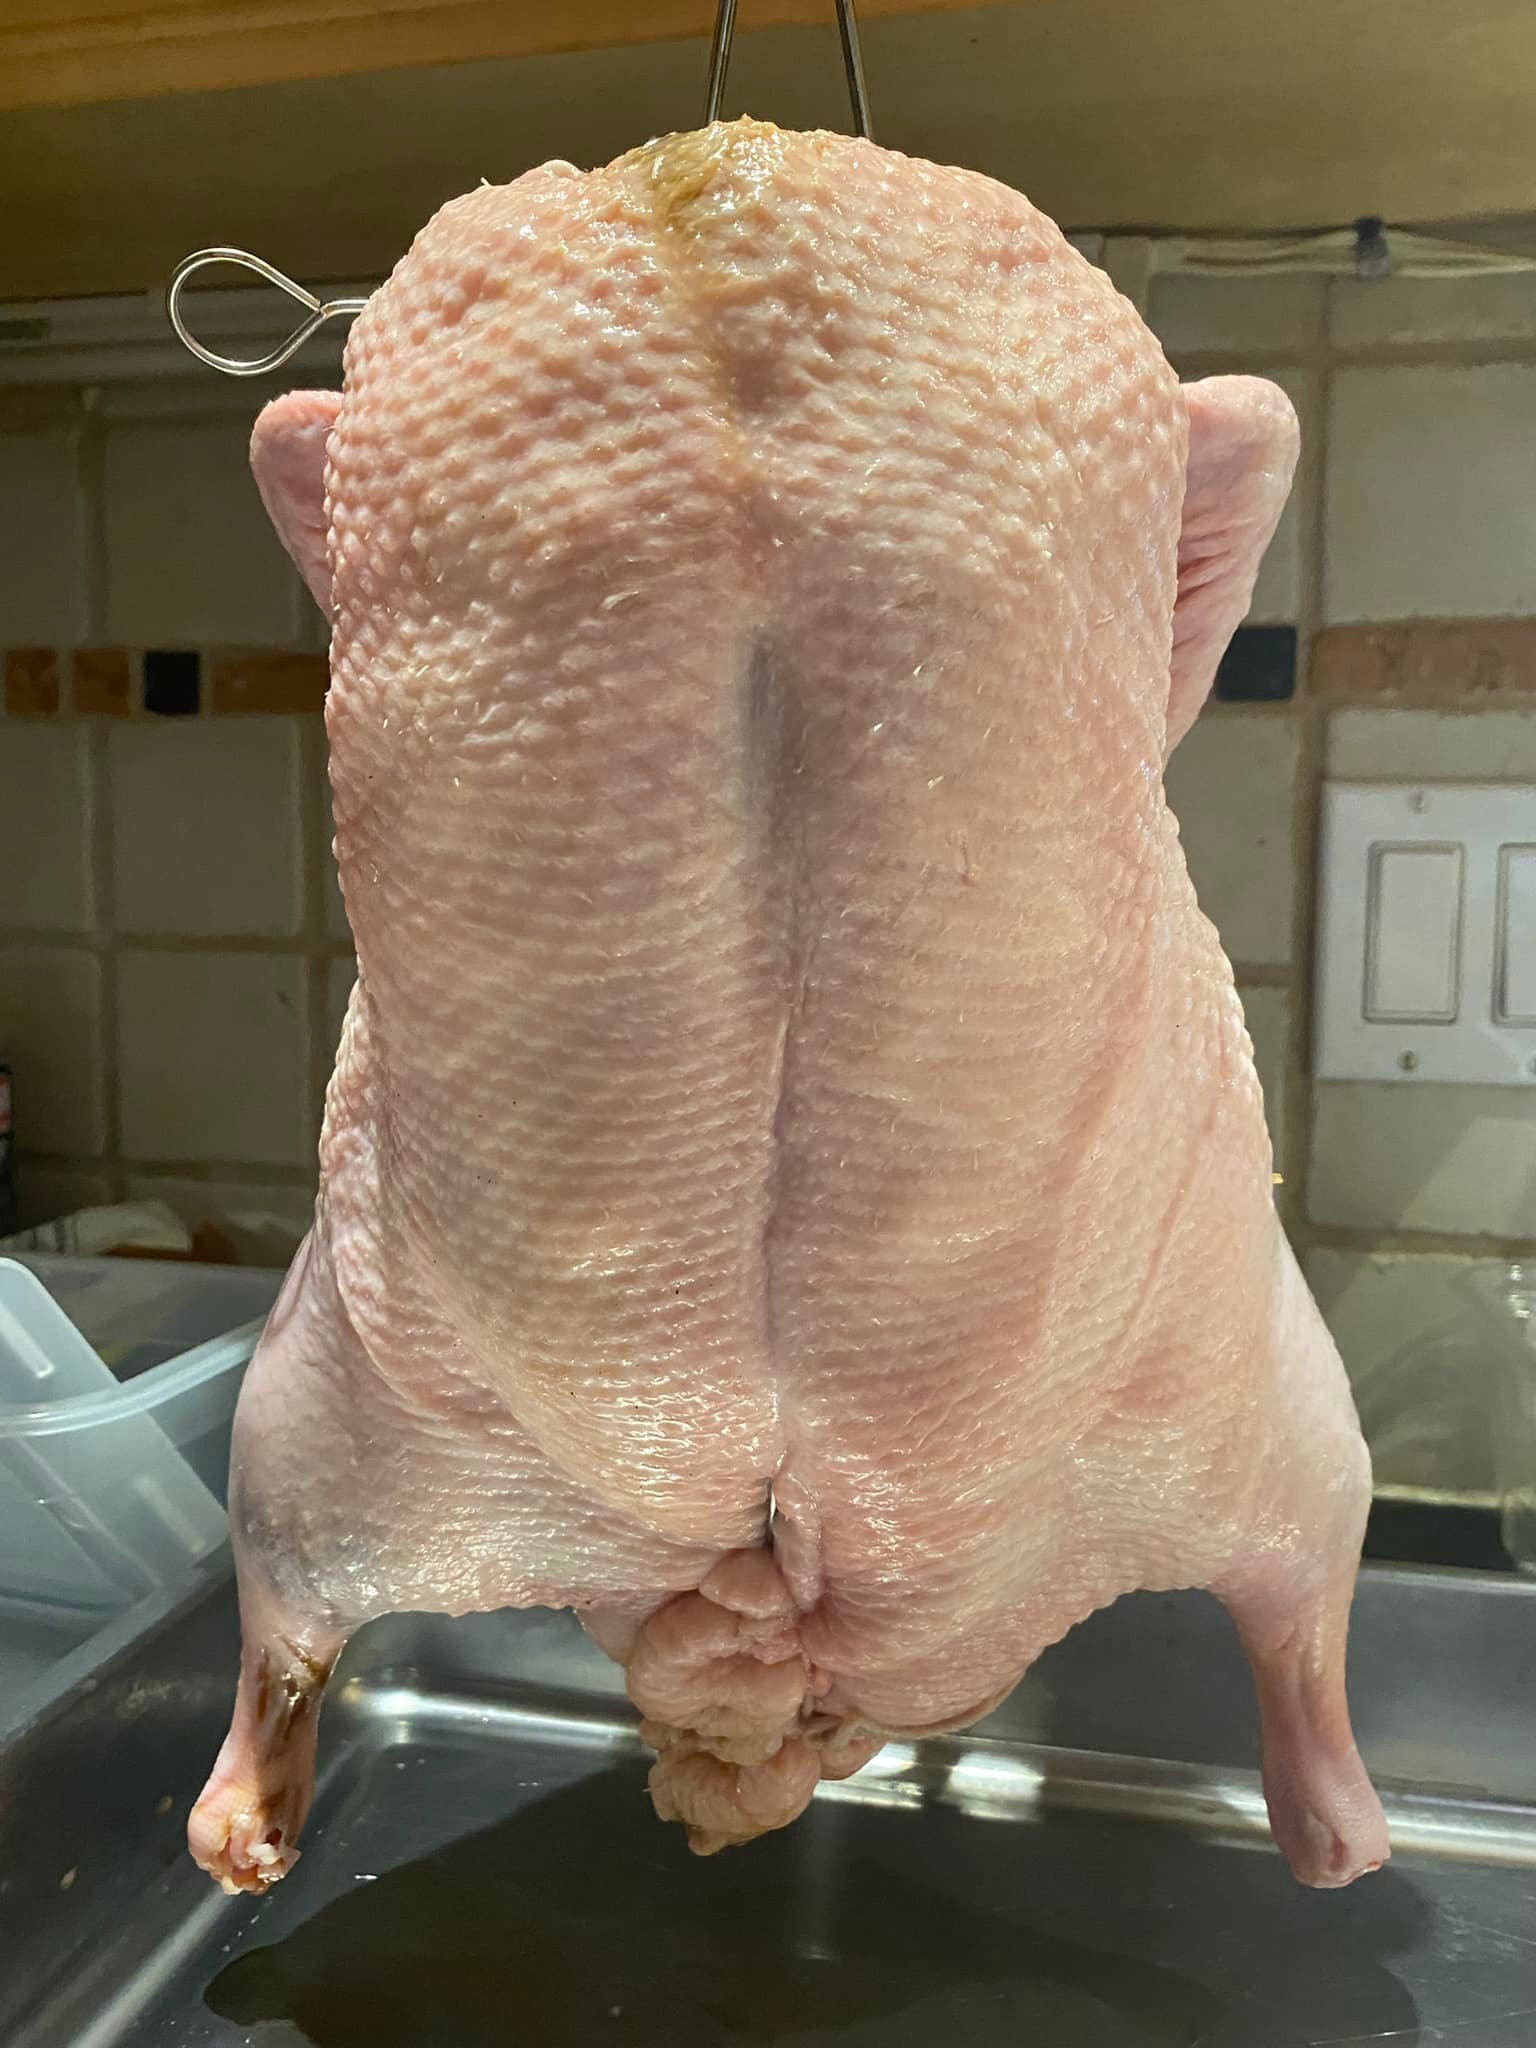
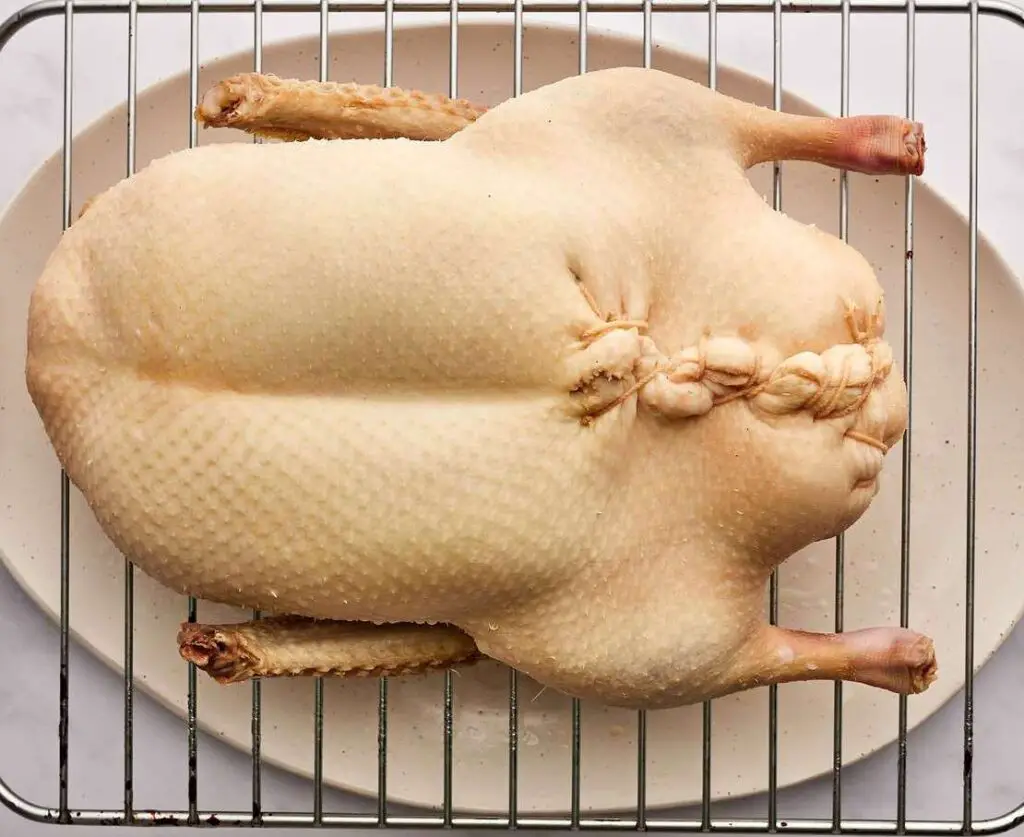
4. Rack It and Chill
Place the duck breast-side up on a wire rack over a baking tray lined with paper towels. The rack’s the secret sauce—it lets air flow all around the duck, drying the skin evenly.
Slide the tray into the fridge, uncovered. Yep, uncovered. The cold, dry air acts like nature’s dehydrator.
5. Wait (and Maybe Use a Fan)
How long to air dry a duck? That depends.
| Time | Result |
| 12 hours | Some drying, better than nothing |
| 24 hours | Good balance of dry skin and juicy meat |
| 48 hours | Maximum crisp factor, chef-level results |
If I’m in a rush, I set a small fan near the fridge to circulate air. It sounds over the top, but trust me, crunchy skin doesn’t wait for the lazy.
Check out: How Long Does Fresh Duck Stay Fresh in the Fridge?
How Long Can You Dry-Age a Duck?
Dry-aging a duck is an art, not just a cooking method. It’s all about developing deep flavors and tender meat by letting the duck rest in a controlled environment. First things first, temperature control is key. You need a refrigerator set between 35 to 39 degrees Fahrenheit. Anything colder, and you risk freezing the meat; anything warmer, and you invite bacterial growth.
John, an expert on duck aging, recommends keeping large ducks in the fridge for 5 to 7 days. During this period, the meat loses moisture, which intensifies the flavor and results in a richer texture once cooked.
Dry-Aging Duck: Quick Guidelines
- Ideal temperature: 35-39°F
- Aging time: 5-7 days for large ducks
- Storage: Keep it on a rack to allow air circulation
Dry-aging is a simple but effective method to take your duck to the next level, adding an extra layer of richness that will impress anyone at the dinner table.
Common Mistakes That Lead to Duck Disasters
Here’s the dirty laundry list of mistakes I made so you don’t have to:
- Covering the duck in the fridge – Moisture gets trapped, and the skin turns mushy.
- Skipping the rack – The underside stays wet, and you get patchy crispness.
- Over-salting – Too much and you’ll end up curing the duck like jerky.
- Not clearing fridge space – If anything touches the skin, it’ll trap moisture.
How to Know When Your Duck Is Ready
You don’t need a degree in poultry physics. Just look for these signs:
- The skin feels dry to the touch—almost like parchment
- It has a slightly tacky texture, not slimy or wet
- There’s no pooled liquid in the pan underneath
It should feel like it’s been camping in a cool desert, not lounging in a sauna.
Cooking It After Drying (Because You Can’t Just Stare at It Forever)
Once you’ve finished air drying, it’s showtime. Here are three of my favorite ways to cook the duck after:
1. Roast It Whole
Low and slow at first (around 300°F), then crank the heat at the end for a crispy finish. I score the skin lightly to help render out the fat.
2. Chinese-Style Glaze
Brush the skin with honey or a soy-based glaze after drying. Roast it until the glaze caramelizes into a lacquered shine.
3. Spatchcock and Pan Roast
Cut the backbone out, flatten the duck, and sear it skin-side down in a heavy pan. Then finish it in the oven. This cuts the cook time in half and gets a crazy crisp on the skin.
Read on: What Kind of Duck Do Grocery Stores Sell?
Duck Fat: The Bonus You Didn’t Know You Needed
Don’t toss the drippings—duck fat is liquid gold. I strain it and keep it in a jar for:
- Roasting potatoes
- Frying eggs
- Making the best grilled cheese ever
You air dry a duck for the skin, but you stay for the fat.
Clean-Up Tips (So You’re Not Cursing My Name Later)
Even though this is a low-mess method, you’ll want to clean smart. Here’s my endgame strategy:
- Line your pan with foil under the rack for easy cleanup
- Change the paper towels once during drying to avoid funk buildup
- Wipe the fridge shelf after use—just in case of any drips
Think of it like this: You’re keeping your kitchen clean and prepping like a pro. Two birds, one clean counter.
Final Thoughts: Is It Worth It?
A thousand times, yes. Air drying duck at home might feel extra, but it’s the key to unlocking restaurant-quality skin. No more flabby birds, no more greasy fingers—just crackling skin and melt-in-your-mouth meat.
I’ve made this a regular ritual in my kitchen. The process becomes part of the celebration, the anticipation before the feast. And now that I’ve figured out how to keep the mess in check? I’m never going back.
So the next time you spot a whole duck at the market, grab it. Clear a spot in your fridge, find your baking rack, and treat yourself. Your future crispy-skin-loving self will thank you.