Reheating Bibingka: Easy Tips for Without an Oven
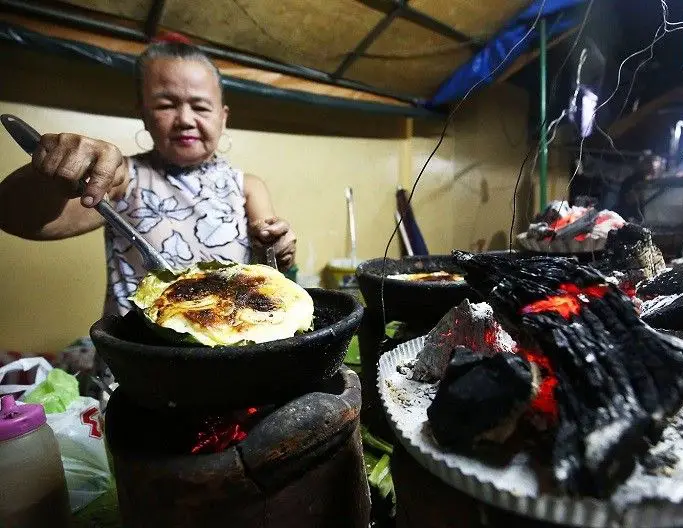
I love bibingka. This soft, slightly sweet Filipino rice cake wrapped in banana leaves is one of my favorite treats, especially during the holiday season. But let’s be real—sometimes, you’re left with leftovers, and reheating bibingka without turning it into a dry, crumbly mess can feel like a challenge.
Without an oven, you might think it’s a lost cause, but don’t worry. I’ve got a few tricks up my sleeve to bring that delightful texture and flavor back to life without using an oven.
Why Reheating Bibingka Can Be Challenging
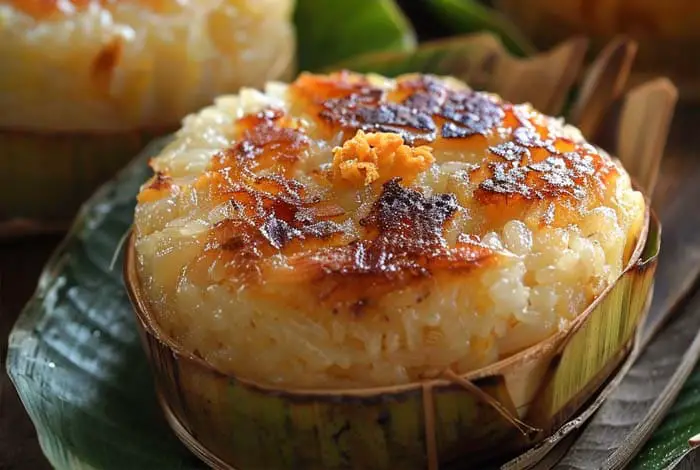
Reheating bibingka can be quite tricky, primarily because of its traditional preparation method. Bibingka is customarily baked in a banana leaf-lined clay pot over hot coals, which imparts a unique, smoky flavor and a wonderfully soft texture. This traditional technique involves a careful balance of heat and moisture, something that’s hard to replicate with modern appliances.
When reheating bibingka, the main challenge lies in preserving its delicate texture and moistness. If not done properly, the rice cake can easily dry out, turning into a dense, chewy mass that lacks the delightful fluffiness of freshly baked bibingka. Additionally, the banana leaf, which helps to infuse the cake with its characteristic aroma and keeps it moist during the initial bake, can lose its protective qualities when reheated incorrectly.
Maintaining the integrity of the bibingka’s moisture content is essential to avoid a disappointing reheating experience. Methods such as steaming or using a skillet with a lid can help trap the steam and retain the moisture. On the other hand, using a microwave without the right precautions might result in uneven heating, with some parts becoming overly dry while others remain too moist.
To ensure your reheated bibingka stays as delicious as the first bite, it’s crucial to select the right reheating method that respects its unique texture and flavor profile. Let’s explore some of these methods in detail to help you enjoy this beloved Filipino treat without compromise.
| Check out: How to Reheat Jalebi Without a Microwave and Oven |
The Steaming Method
Steaming is one of the best ways to reheat bibingka without drying it out. It’s like giving your bibingka a gentle sauna session, keeping it moist and tender.
What You’ll Need:
- A steamer or a large pot with a steaming rack
- Water
- A lid
Steps:
- Prepare the Steamer: Fill your steamer with water and bring it to a boil. If you don’t have a steamer, you can use a large pot with a steaming rack or even a makeshift one using a heatproof plate.
- Place the Bibingka: Put the bibingka on the steaming rack or plate. If it’s still wrapped in banana leaves, even better! The leaves will help retain moisture.
- Steam the Bibingka: Cover the pot with a lid and let the bibingka steam for about 5-7 minutes.
- Check for Warmth: After steaming, check if the bibingka is heated through. If it’s not, give it another minute or two.
Tip:
To enhance the flavor, you can brush a little butter or margarine on the bibingka before steaming. It’ll add an extra layer of richness that’s hard to resist.
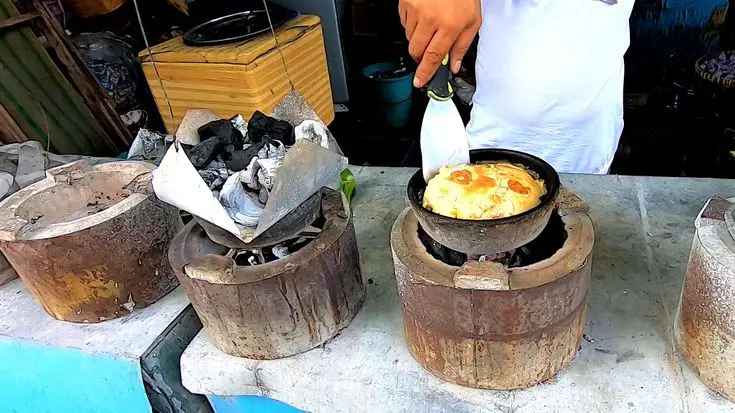
The Skillet Method
If you don’t have a steamer, a skillet works wonders. This method warms the bibingka evenly and can even add a slight crispy edge if done right.
What You’ll Need:
- A non-stick skillet
- A lid
- A small amount of water
Steps:
- Preheat the Skillet: Heat your skillet over low to medium heat. Add a tablespoon of water to create some steam.
- Place the Bibingka: Put the bibingka in the skillet. If you have multiple pieces, make sure they’re not overcrowded.
- Cover and Heat: Cover the skillet with a lid to trap the steam. Let the bibingka warm for about 3-5 minutes.
- Check and Serve: Remove the lid and check if the bibingka is heated through. If you want a slightly crispy bottom, leave it uncovered for the last minute.
Tip:
A sprinkle of grated coconut or cheese on top before covering the skillet adds a delightful twist. It’s like giving your bibingka a mini makeover.
| Check out: Can You Cook Biscuits in an Electric Skillet? |
The Microwave Alternative (With a Twist)
While we’re avoiding ovens, I know some of you might have a microwave. With a little tweak, you can use it without sacrificing the bibingka’s texture.
What You’ll Need:
- A microwave-safe plate
- A damp paper towel
Steps:
- Prepare the Bibingka: Place the bibingka on a microwave-safe plate. Cover it with a damp paper towel.
- Microwave: Heat on low power for 30 seconds. Check if it’s warm. If not, heat in 10-second increments.
- Serve: Once it’s heated through, remove the paper towel and enjoy.
Tip:
Avoid using high power as it can dry out the bibingka. The damp paper towel helps keep the moisture locked in.
The Boiling Water Bath Method
This method is perfect if you have a vacuum-sealed bibingka or one that’s tightly wrapped.
What You’ll Need:
- A pot of boiling water
- A heatproof, sealed bag (if not already wrapped)
Steps:
- Boil the Water: Bring a pot of water to a gentle boil.
- Wrap the Bibingka: If your bibingka isn’t already in a heatproof, sealed bag, place it in one now.
- Submerge and Heat: Place the wrapped bibingka in the boiling water and let it heat for about 10 minutes.
- Remove and Serve: Carefully remove the bibingka from the water, unwrap, and enjoy.
Tip:
This method is great for retaining the original texture and moisture of the bibingka, making it taste just as fresh as when it was first made.
Comparison of Reheating Methods
Here’s a quick comparison table to help you decide which method works best for you:
| Method | Equipment Needed | Time | Moisture Retention | Ease of Use |
| Steaming | Steamer or pot, rack, lid | 5-7 min | High | Moderate |
| Skillet | Non-stick skillet, lid | 3-5 min | Moderate | Easy |
| Microwave with Damp Towel | Microwave, paper towel | 30 sec – 1 min | Moderate | Easy |
| Boiling Water Bath | Pot, heatproof bag | 10 min | High | Moderate |
Tips for Maintaining Bibingka Moistness
When reheating bibingka, one of the main challenges is ensuring that it remains moist and tender. No one wants to bite into a dry and crumbly cake! Luckily, there are several pro-tips you can follow to maintain its delicious moisture.
Firstly, try sprinkling some water over the bibingka before reheating it. This simple trick works wonders in preventing excessive drying during the heating process. Just lightly dampen your fingers with water and gently sprinkle it over the surface of the cake. Be careful not to oversaturate it; a light misting is all you need.
Another way to keep your bibingka moist is by placing it alongside other ingredients that provide moisture while reheating. For example, if you’re using a stovetop method like steaming or frying, consider adding a small dish filled with water next to the bibingka as it cooks. The steam created from this extra moisture source will help keep the cake soft and supple.
Final Thoughts
Reheating bibingka without an oven might seem tricky at first, but these methods make it easy to bring back its deliciousness. Whether you steam it, use a skillet, or even give it a quick spin in the microwave, you can enjoy your leftover bibingka without compromising its soft, flavorful charm.
So next time you’re staring at a cold piece of bibingka, remember these tips and give it the reheating love it deserves. Your taste buds will thank you!


