Sterilizing Bean Sprouts: How to Ensure They’re Safe and Bacteria-Free
Bean sprouts are the perfect addition to so many dishes. From crunchy stir-fries to fresh salads, they add flavor, texture, and nutrients to every bite. But when it comes to eating raw sprouts, there’s an important question we should all be asking: are they safe? Sure, they’re packed with vitamins and antioxidants, but they can also be a breeding ground for harmful bacteria if not properly handled.
So, how do you make sure that your bean sprouts are safe to eat and free from bacteria? Let’s break it down and talk about everything from proper sterilization to safe storage. Trust me, it’s easier than you think!
Why Should You Sterilize Bean Sprouts?
First things first, you might be asking: “Why sterilize them at all? Aren’t they already clean?” Here’s the deal: bean sprouts are grown in warm, humid environments, making them a prime target for bacteria like E. coli, Salmonella, and Listeria. These pathogens can cause foodborne illnesses, so we need to take a few extra steps to ensure our sprouts stay bacteria-free.
You might think rinsing them under cold water is enough, but that’s like giving your hands a quick rinse after a long day of gardening—it’s just not cutting it. Proper sterilization helps minimize the risk of contamination and ensures you’re getting all the benefits without the harmful side effects.
How to Sterilize Bean Sprouts: A Simple Step-by-Step Guide
Sterilizing bean sprouts doesn’t need to be complicated. With a few straightforward methods, you can make sure your sprouts are as safe as they are delicious. Here’s the process I follow:
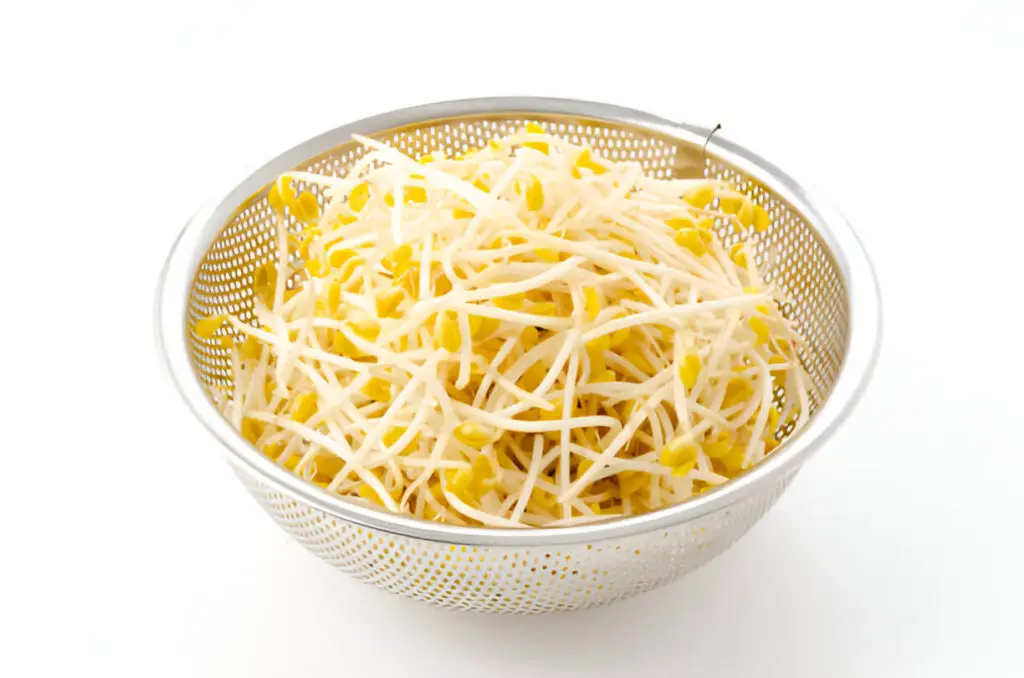
1. Rinse Thoroughly
Before you do anything else, give your bean sprouts a good rinse under cold running water. This will remove any dust, dirt, or loose particles. Make sure you don’t skip this step—those tiny particles can harbor bacteria that could cause trouble later.
2. Boil Water for Sterilization
The most effective way to kill bacteria is by boiling. Bring a pot of water to a boil, and make sure it’s rapidly boiling before you proceed. You don’t need to soak the sprouts for long, just a quick dip will do.
| Related: Soaking vs. Boiling for Pumpkin Seeds: Which One is Better ? |
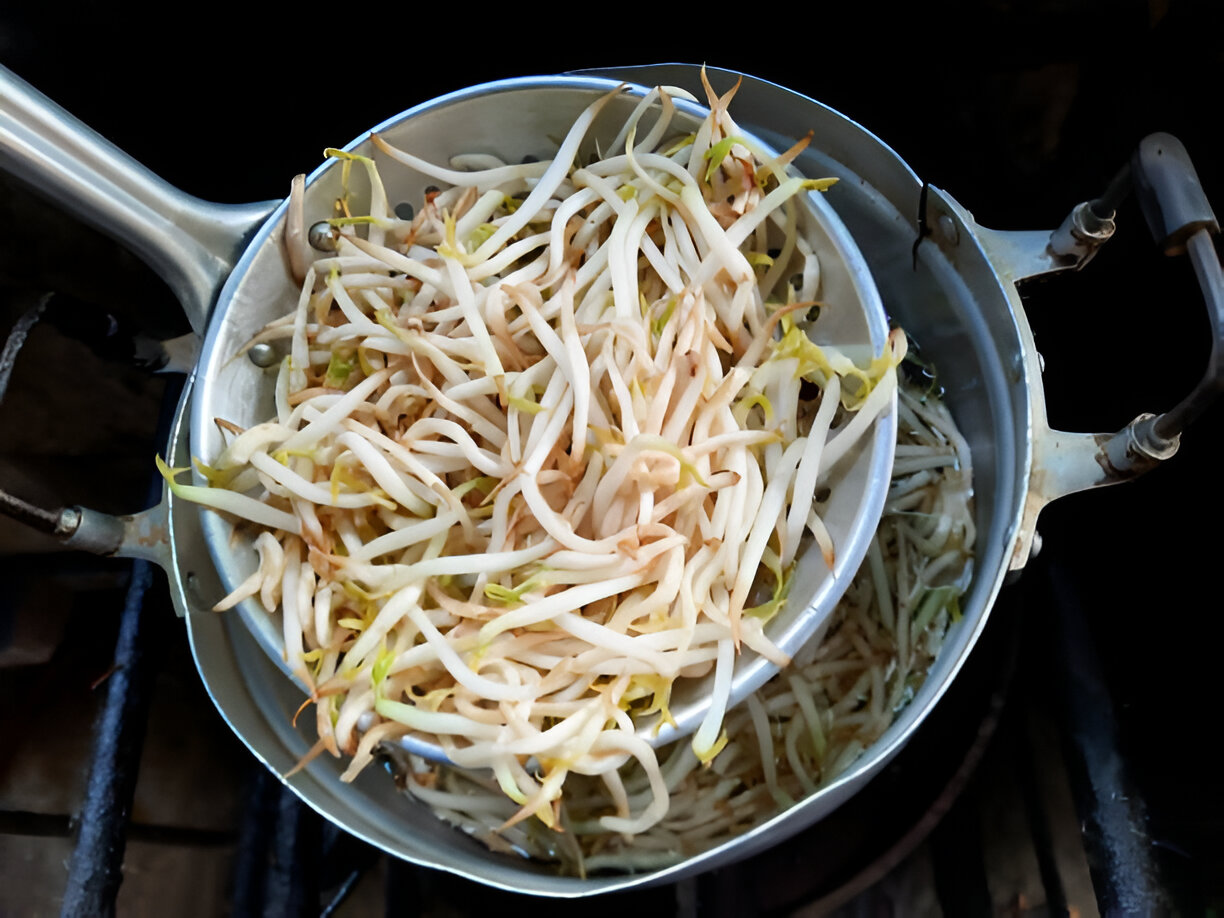
3. Blanch the Sprouts
Once your water is boiling, drop the bean sprouts in for about 30 seconds. This process is called blanching. It’s like giving your sprouts a quick spa treatment where they get a hot soak to kill bacteria without cooking them through. You want to keep that crunch!
Be sure to stir the sprouts gently to ensure they’re all exposed to the boiling water evenly. You’ll start seeing them soften slightly—this is normal when blanching sprouts. When the timer goes off, it’s time to move on.
4. Ice Bath Time
After blanching, immediately transfer your bean sprouts into an ice bath. This helps stop the cooking process and locks in their fresh texture. If you’ve ever boiled vegetables, you know that an ice bath is crucial to preserve the color, flavor, and nutritional content. For bean sprouts, it’s no different.
5. Dry and Store Properly
Once your sprouts are cool, gently pat them dry with a clean paper towel. The key here is removing excess moisture. As I’ve learned the hard way, moisture is the enemy when it comes to storing sprouts. It encourages bacterial growth, so make sure they’re nice and dry before putting them in the fridge.
Store your sterilized sprouts in an airtight container, and make sure to keep them in the coldest part of the fridge. Ideally, you want to use them within 3 to 5 days for the best freshness.
| Check out: The Truth About Soaking Bean Sprouts (And How It Affects Taste & Texture) |
Alternative Methods for Sterilizing Bean Sprouts
While blanching is my go-to method, there are a few other ways you can sterilize your bean sprouts if you don’t have access to boiling water. These methods are also pretty effective, though not quite as foolproof as blanching.
1. Hydrogen Peroxide Soak
Hydrogen peroxide can be a powerful tool for cleaning produce. Mix a solution of 3% hydrogen peroxide and water in a bowl, and soak your bean sprouts for 5 minutes. After soaking, rinse thoroughly under cold water. While this method is good for sanitizing, it doesn’t kill bacteria as quickly as boiling water.
2. Vinegar Solution
You can also use a vinegar wash to sanitize your sprouts. Add 1 part vinegar to 3 parts water and soak the sprouts for about 10 minutes. Vinegar is a natural disinfectant and can help kill germs, but again, it’s not as effective as boiling.
How to Store Sterilized Bean Sprouts
After sterilizing your sprouts, proper storage is just as important. Here are my top storage tips to ensure they stay fresh and bacteria-free:
1. Use a Paper Towel
Store your sterilized sprouts in a container lined with a paper towel. The towel absorbs any extra moisture that might build up, keeping the sprouts dry and fresh. I’ve found this small step really extends the freshness of the sprouts.
2. Keep Them Cold
Store your sprouts in the coldest part of your fridge—typically the back of the bottom shelf. This ensures they stay at a steady, low temperature, which helps slow down the growth of bacteria.
3. Use Within 3 to 5 Days
Even after sterilization, bean sprouts are best when used quickly. I aim to use mine within 3 to 5 days for the freshest flavor and texture. If they’ve been in the fridge longer than that, it’s time to toss them—better safe than sorry.
Signs Your Bean Sprouts Are No Longer Safe
No one wants to waste food, but sometimes, even after sterilizing, sprouts can go bad quickly. Here are a few signs that your sterilized bean sprouts are no longer fresh and safe to eat:
| Signs | What it Means |
| Slimy texture | Time to toss them. They’ve gone bad. |
| Discoloration | Yellow or brown sprouts are past their prime. |
| Off smell | If they smell sour or rotten, they’re no good. |
| Soft or mushy texture | The crunch is gone—don’t eat them! |
Final Thoughts on Sterilizing Bean Sprouts
Sterilizing bean sprouts might sound like an extra step, but trust me, it’s worth it for the peace of mind. A few extra minutes of work can help you avoid foodborne illness and ensure that you’re enjoying your sprouts at their best.
Whether you’re adding them to a refreshing salad, a hearty stir-fry, or a spicy pho bowl, sterilizing your sprouts ensures that they’re both delicious and safe. So, rinse, blanch, dry, and store them right—and you’ll never have to worry about bacteria again!