How to Remove Seeds From Strawberries for Jam: Easy Techniques
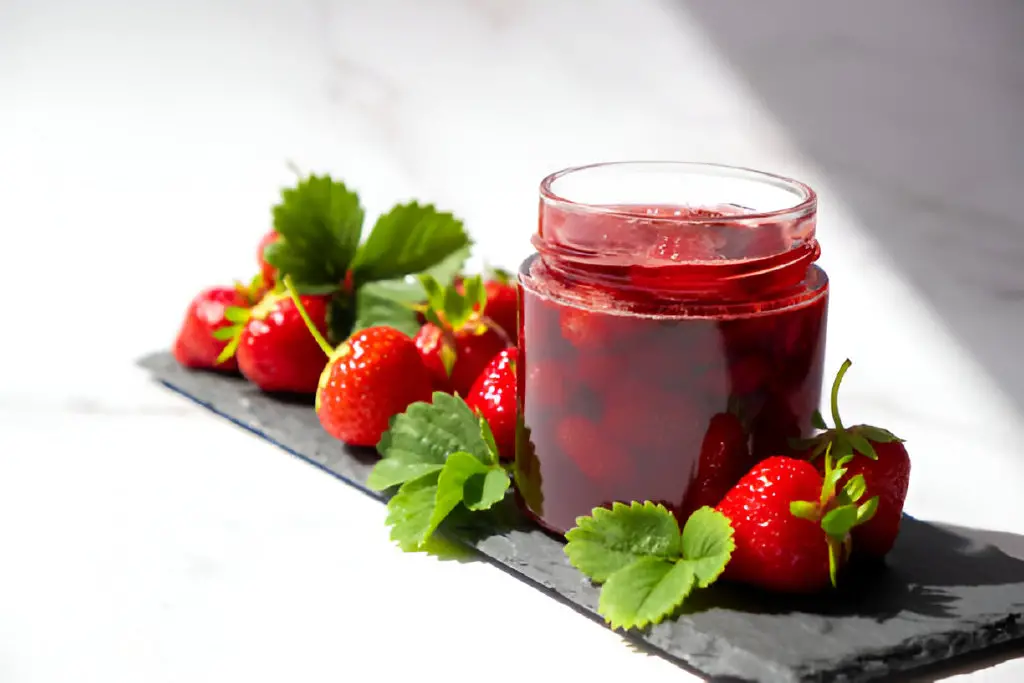
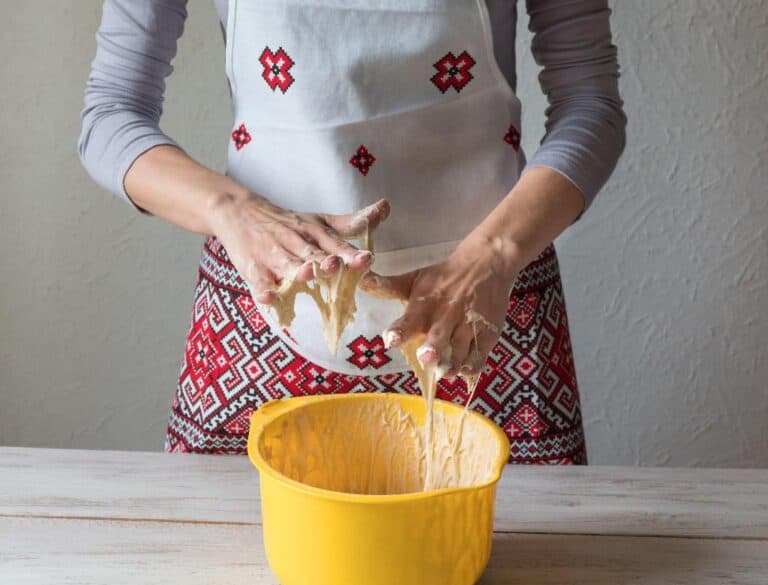
Making homemade strawberry jam is a delightful way to preserve the sweet flavors of summer. One common challenge when preparing strawberry jam is dealing with the seeds.
While some prefer the rustic texture they add, others prefer a smoother consistency. Are you looking to elevate your homemade jam-making skills?
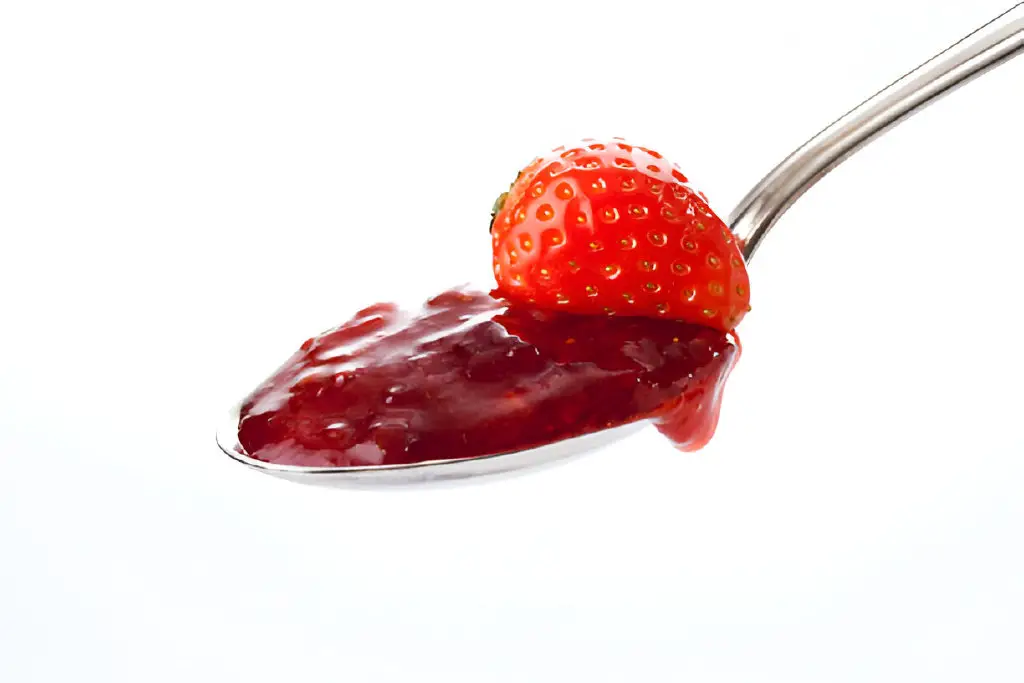
Learning to effectively remove seeds from strawberries can improve the texture and quality of your jam. It ensures a perfect spread for toast or filling for pastries. By reading this article, you’ll get practical insights into removing strawberry seeds. This will empower you to make jams with the texture you like.
Why Remove Seeds from Strawberries?
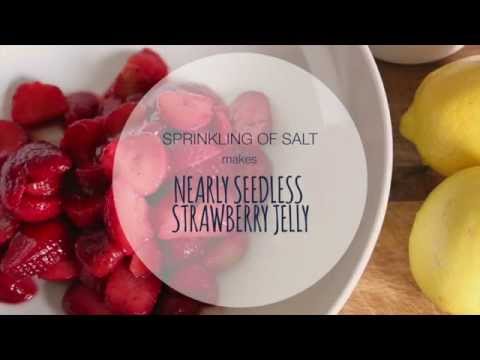
While strawberry seeds are tiny and generally unobtrusive, some people prefer a seedless texture for their jam. Removing seeds can enhance the smoothness and spreadability of the jam, making it more enjoyable on toast, pancakes, or as a dessert topping. Additionally, seed removal can be beneficial for those with sensitive digestion or dental issues.
Techniques for Removing Seeds from Strawberries
Several methods can remove seeds from strawberries. They range from simple kitchen tools to more advanced techniques. Here’s a breakdown of the most effective methods:
1. Using a Food Mill
A food mill is a handy kitchen tool that can easily separate seeds from the strawberry pulp. Here’s how to use it:
- Step 1: Wash and hull the strawberries to remove the green tops.
- Step 2: Cut the strawberries into halves or quarters for easier processing.
- Step 3: Place the strawberries in the food mill and turn the crank. The seeds and skins will be left behind, while the smooth pulp collects in a bowl.
Pros: Efficient, produces smooth pulp quickly.
Cons: Requires a food mill, which may not be available in all kitchens.
2. Using a Fine Mesh Sieve
A fine mesh sieve or strainer can also be used to remove seeds, albeit with a bit more manual effort.
- Step 1: Wash and hull the strawberries.
- Step 2: Puree the strawberries using a blender or food processor.
- Step 3: Pour the puree into the fine mesh sieve placed over a bowl. Use a spatula to press the puree through the sieve, leaving seeds and larger pieces behind.
Pros: Effective, doesn’t require special equipment beyond a sieve.
Cons: Can be labor-intensive and time-consuming.
3. Using Cheesecloth
Cheesecloth is also useful for removing seeds from strawberry puree. It provides a fine way to filter.
- Step 1: Wash, hull, and puree the strawberries.
- Step 2: Place a double layer of cheesecloth over a bowl and pour the puree onto the cheesecloth.
- Step 3: Gather the edges of the cheesecloth and squeeze gently to extract the smooth pulp, leaving seeds behind in the cloth.
Pros: Good for small batches, can achieve very fine pulp.
Cons: Requires cheesecloth, which can be messy and wasteful.
4. Using a Juicer
If you have a juicer with a fine screen, it can be an excellent tool for separating seeds from strawberries.
- Step 1: Wash and hull the strawberries.
- Step 2: Feed the strawberries into the juicer. The juice will be collected in one container, while seeds and pulp are separated into another.
Pros: Fast and efficient, especially for large quantities.
Cons: Requires a juicer, which can be an expensive investment.
Preparing Seedless Strawberry Jam
Once you’ve removed the seeds from your strawberries, you’re ready to make your jam. Here’s a basic recipe for seedless strawberry jam:
Ingredients
- 4 cups seedless strawberry pulp
- 4 cups sugar
- 1/4 cup lemon juice
- 1 package (1.75 oz) pectin (optional, for thicker jam)
Instructions
- Sterilize Jars: Prepare canning jars by sterilizing them in boiling water. Keep them hot until ready to use.
- Combine Ingredients: In a large pot, combine the seedless strawberry pulp, sugar, and lemon juice.
- Cook the Jam: Bring the mixture to a boil over medium-high heat, stirring frequently. If using pectin, add it now according to the package instructions.
- Simmer: Reduce heat and simmer until the mixture thickens, about 20-30 minutes. Skim off any foam that forms on the surface.
- Test Consistency: To test the jam’s consistency, place a small amount on a cold plate. If it wrinkles when pushed, it’s ready.
- Jar the Jam: Carefully ladle the hot jam into the sterilized jars, leaving 1/4 inch of headspace. Wipe the rims, apply lids, and process in a boiling water bath for 10 minutes.
- Cool and Store: Remove jars from the water bath and let cool. Check seals after 24 hours and store in a cool, dark place.
| Read: How to Remove Seeds From Strawberry Puree |
Troubleshooting Common Issues
Even with the best techniques, issues can arise when making seedless strawberry jam. Here are some common problems and solutions:
- Jam Too Thin: If the jam is too thin, continue cooking until it reaches the desired consistency, or consider adding more pectin.
- Jam Too Thick: If the jam is too thick, add a small amount of water or fruit juice to achieve the right texture.
- Unsealed Jars: If any jars fail to seal properly, refrigerate and use within a few weeks.
| Read: Is Lemon Curd a Jam or Marmalade? |
Tips for Perfect Seedless Strawberry Jam
To ensure your seedless strawberry jam turns out perfectly, consider these additional tips:
- Use Fresh, Ripe Strawberries: The quality of your strawberries will directly affect the flavor of your jam. Choose fresh, ripe, and fragrant strawberries for the best results.
- Adjust Sweetness: Taste the puree before cooking and adjust the sugar to your preference. Remember, the jam will taste less sweet once cooled.
- Add Flavorings: Experiment with adding vanilla, mint, or balsamic vinegar. They create unique and delicious variations.
| Also read: Too Many Opened Jars of Jam or Jelly |
Benefits of Seedless Strawberry Jam
Choosing to make seedless strawberry jam offers several benefits:
- Smooth Texture: Seedless jam has a smoother texture, making it ideal for spreading on bread or incorporating into desserts.
- Versatility: Seedless jam can be used in a variety of culinary applications, from fillings for pastries to toppings for ice cream.
- Allergen-Friendly: Removing seeds can make the jam better for people with seed allergies. It also helps those with digestive sensitivities.
Summary Table: Techniques for Removing Strawberry Seeds
| Method | Tools Needed | Pros | Cons |
| Food Mill | Food mill | Efficient, produces smooth pulp | Requires a food mill |
| Fine Mesh Sieve | Blender, sieve, spatula | Effective, no special equipment needed | Labor-intensive and time-consuming |
| Cheesecloth | Blender, cheesecloth | Fine pulp, good for small batches | Messy, can be wasteful |
| Juicer | Juicer | Fast, efficient for large quantities | Requires a juicer |
Conclusion
Strawberry jam is a beloved treat, capturing the essence of fresh, sweet strawberries in a jar. However, for those who prefer a smoother texture, removing the seeds from strawberries can make a world of difference.
Removing seeds from strawberries for jam can elevate your homemade preserves to a new level of smoothness and elegance. Whether you use a food mill, a fine mesh sieve, cheesecloth, or a juicer, the key is to choose the method that best fits your kitchen and your needs.
With some effort and the right technique, you can make seedless strawberry jam. It’s perfect for spreading, baking, or just enjoying by the spoonful. Happy jam-making!